
Follow Me On Social Media!

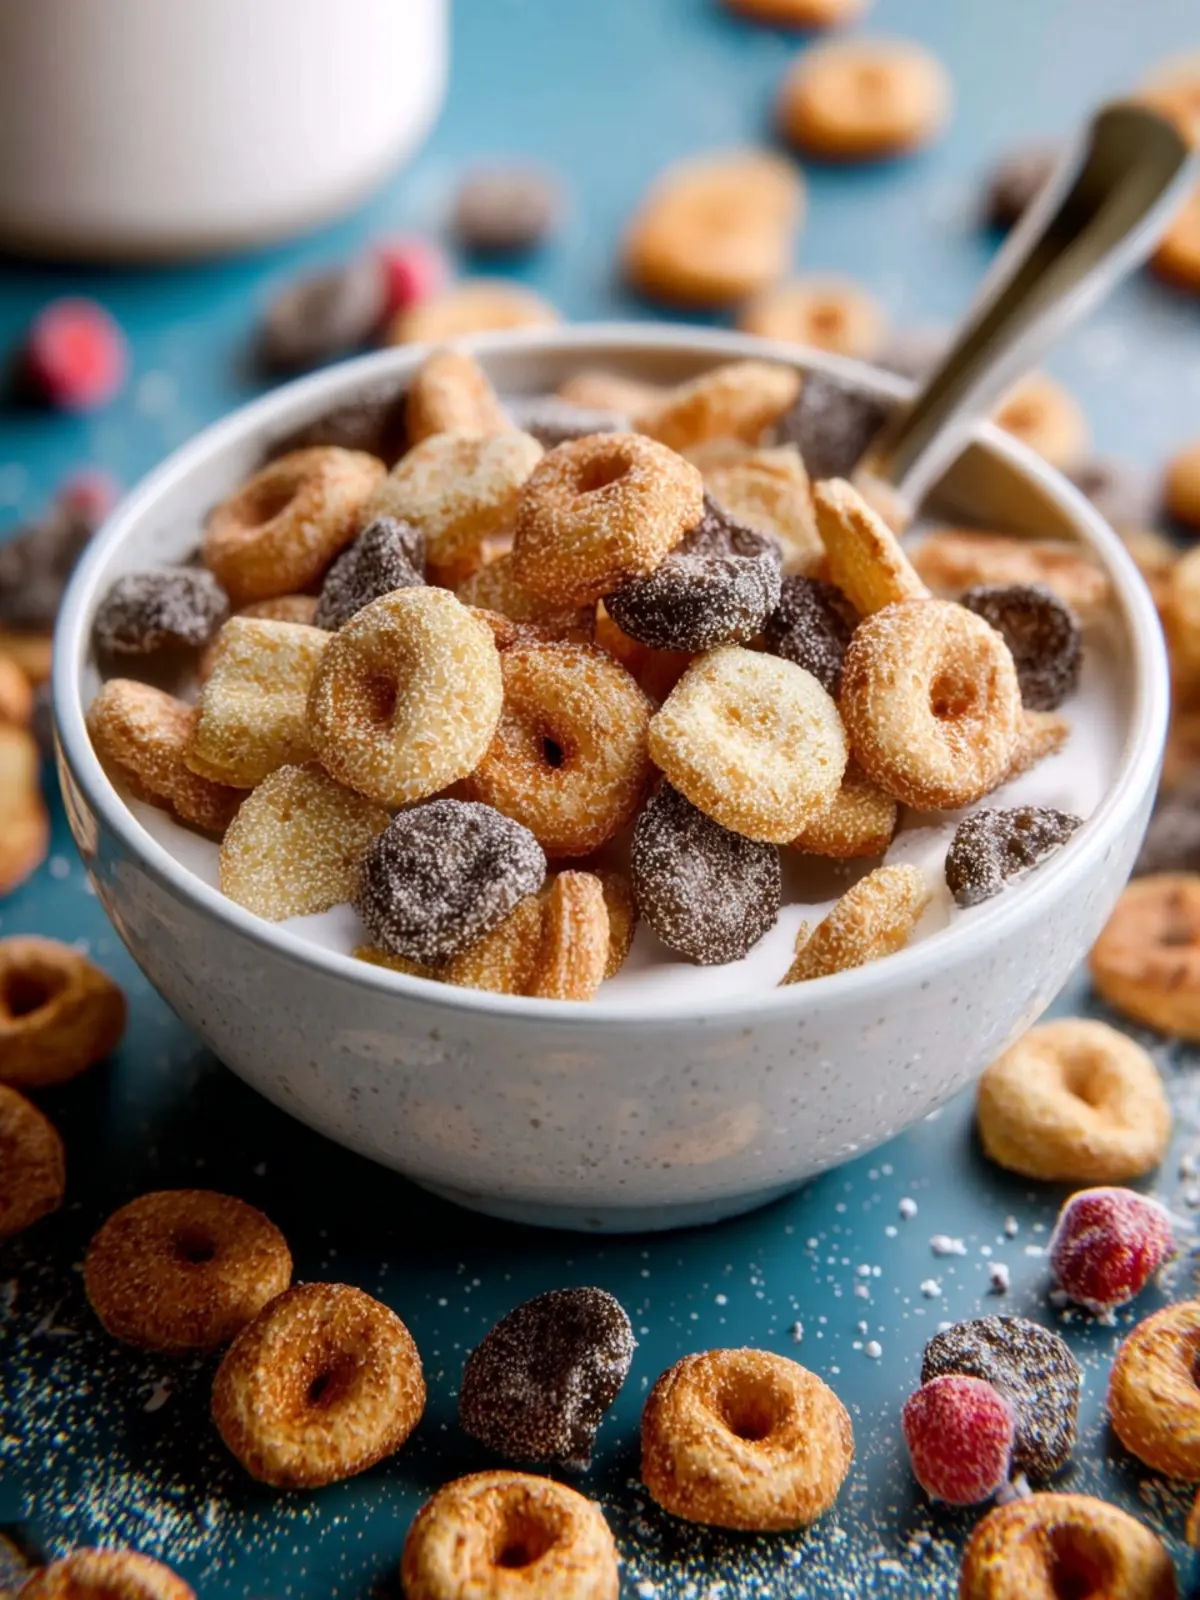
Homemade Cookie Crisp Cereal: The Best Crunchy Delight!

Introduction to Homemade Cookie Crisp Cereal
Imagine starting your day with a bowl of homemade cookie crisp cereal that not only satisfies your sweet cravings but also provides a nourishing breakfast option. This delightful recipe takes you back to the nostalgic flavors of your childhood while adding a wholesome twist that busy young professionals can appreciate. Who wouldn’t want to relive those carefree mornings filled with joy and crunch? Making your own cereal opens up a world of possibilities, dispelling the notion that breakfast has to be bland or time-consuming.
Why Homemade Cereal is a Game Changer for Busy Mornings
In today’s fast-paced world, finding breakfast that fits into a hectic schedule can be quite the challenge. Pre-packaged cereals often come loaded with excessive sugars and preservatives that aren’t ideal for fueling your busy day. Opting for homemade cookie crisp cereal offers a wonderful solution.
-
Healthier Ingredients: Control what goes into your cereal. You can customize it according to your dietary preferences, swapping in wholesome ingredients like oats, nuts, or dried fruits. This means no more hidden additives or unpronounceable ingredients!
-
Time-Saving: Believe it or not, making your own cereal can be surprisingly quick. You’ll be starting your day on the right foot within minutes. Just prepare a batch on the weekend, and you’ll have quick breakfast options ready for the whole week.
-
Satisfying Flavor: Store-bought cereals can lack that rich, fresh taste, whereas homemade versions burst with flavor. Enjoy the warm, inviting aroma of cookies baking in your kitchen, knowing that each bite is a delightful treat that will keep you going all morning.
-
Creative Variations: Feel empowered to experiment with flavors. Add cinnamon, chocolate chips, or even a sprinkle of salt to elevate the taste. You can also make it vegan or gluten-free, ensuring everyone can love this breakfast.
Crafting your homemade cookie crisp cereal is not just about convenience; it’s a rewarding experience that allows you to begin each day feeling nourished and cherished. After all, if you can start the day with something delicious and wholesome, why wouldn’t you?
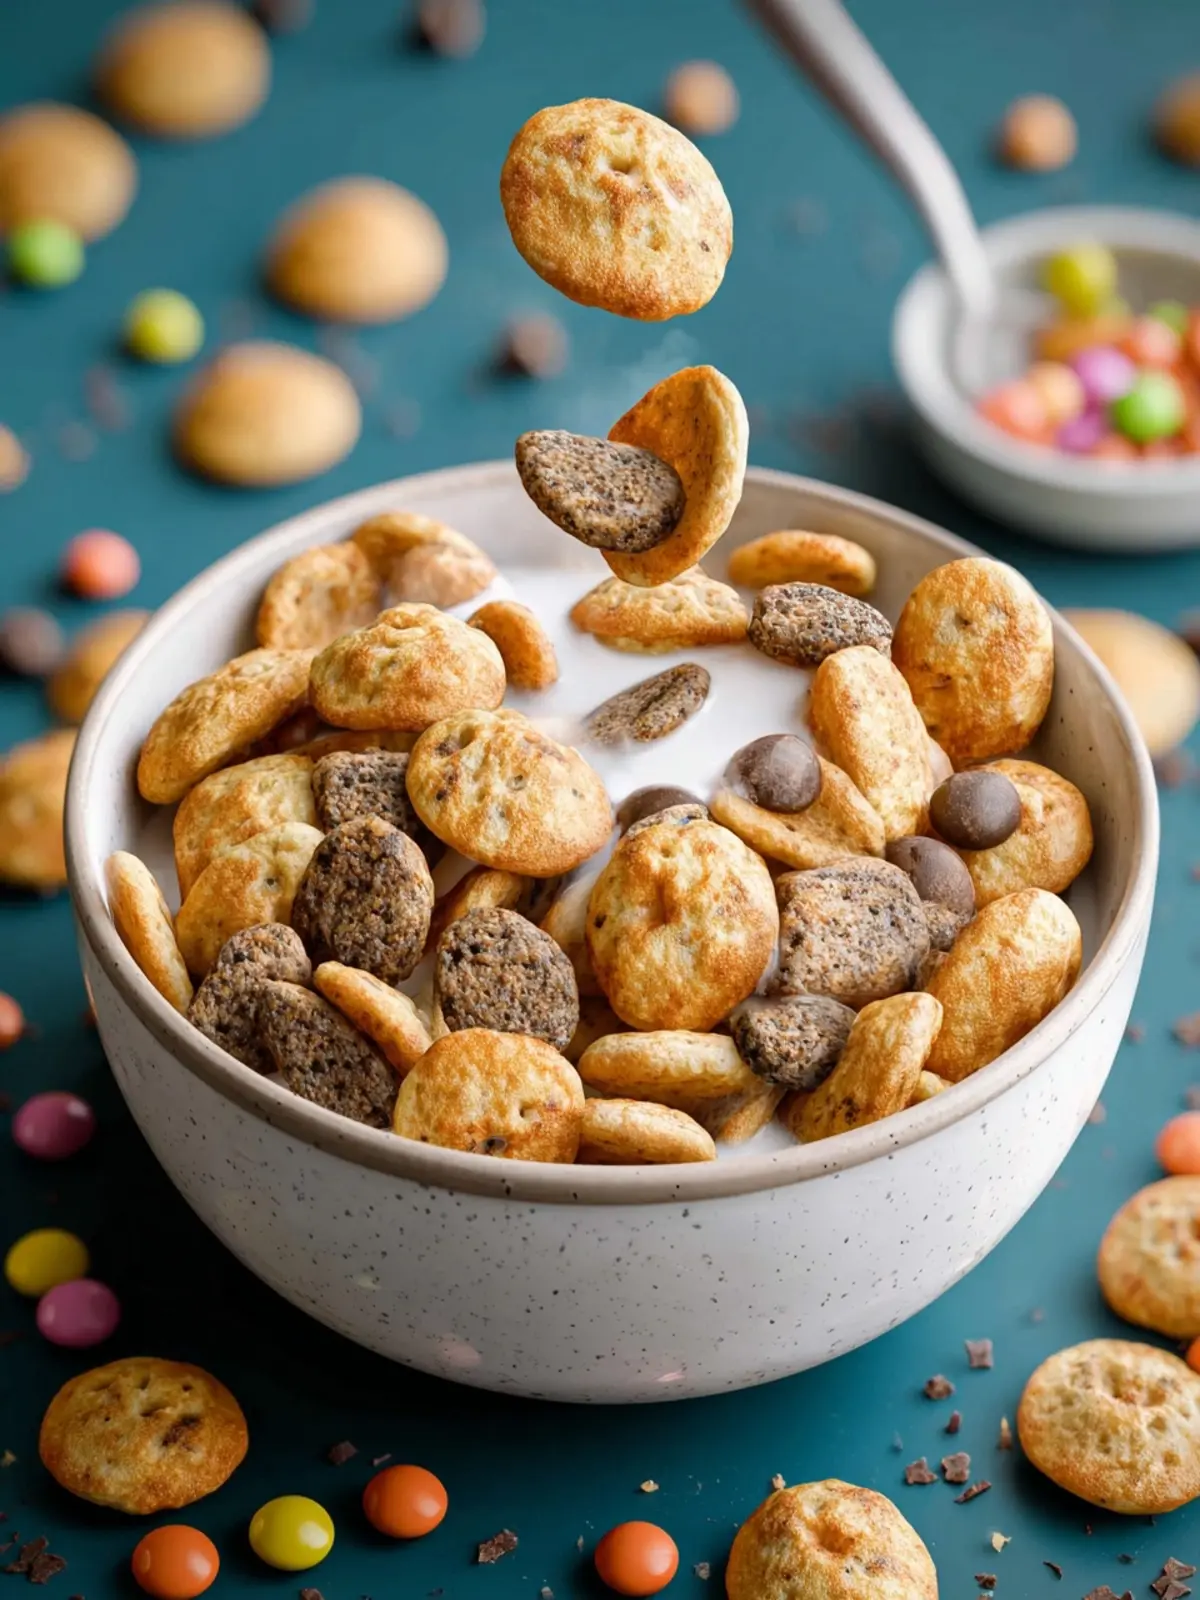
Key Ingredients for Homemade Cookie Crisp Cereal
Creating homemade cookie crisp cereal is not just about indulging your sweet tooth—it’s about crafting a breakfast that starts your day on the right note. The following ingredients play a crucial role in making your cereal not only delicious but also fun to enjoy.
-
Oats: Rolled oats form the base of your cereal, providing great texture and a solid source of fiber. They toast beautifully, ensuring that every bite is crunchy and satisfying.
-
Almond Flour: This flour adds a nutty flavor and contributes to the delicious crunch. Plus, it gives your cereal a gluten-free option if needed.
-
Brown Sugar: The sweetness of brown sugar is essential for that classic cookie flavor. It caramelizes during baking, creating those delightful crispy edges we all love.
-
Butter: Using melted butter helps bind the dry ingredients together while adding richness. It adds that irresistible buttery flavor that takes your cereal to the next level.
-
Chocolate Chips: No cookie cereal would be complete without chocolate chips. They melt slightly during baking and provide a delightful surprise with every crunchy spoonful.
-
Vanilla Extract: A splash of vanilla enhances the overall flavor profile, rounding out the sweetness and elevating the nostalgia of classic cookies.
Each ingredient contributes to a harmonious balance of flavor and texture in your homemade cookie crisp cereal, turning your morning routine into a delightful experience.
Why You’ll Love This Homemade Cookie Crisp Cereal
Imagine starting your morning with a bowl of homemade cookie crisp cereal that not only brings nostalgia but also a delightful crunch with every bite. Unlike the sugary options lining supermarket shelves, this homemade version allows you to control the sweetness and ingredients, making it a guilt-free treat that satisfies your cravings for something sweet without sacrificing health.
An Irresistible Crunch
The beauty of homemade cookie crisp cereal lies in its incredible texture. Each piece offers a satisfying crunch that brings a sense of joy to your breakfast routine. It’s like having cookies for breakfast, but in a much lighter form! Whether you enjoy it with milk or as a snack on-the-go, the crispy texture will keep you coming back for more.
Control Over Ingredients
With this recipe, you have the power to choose high-quality ingredients that suit your dietary preferences. You can substitute sugars or add healthy extras like nuts and dried fruits, ensuring that your cereal aligns with your lifestyle.
Great for Meal Prep
This homemade cookie crisp cereal is perfect for meal prepping. You can whip up a large batch and store it for the week ahead, making your mornings stress-free. Simply pour a bowl, add your favorite toppings, and you’re ready to go!
A Fun Family Activity
Making this cereal can easily become a fun, family bonding activity. Kids and adults alike will enjoy rolling the dough and cutting it into bite-sized pieces. Plus, it opens up opportunities for creativity where everyone can put their personal spin on the recipe.
With all these reasons, it’s clear that homemade cookie crisp cereal is not just a breakfast option—it’s a delightful way to enhance your mornings!

Variations on Homemade Cookie Crisp Cereal
Making homemade cookie crisp cereal opens the door to endless possibilities for fun and delicious variations. You can easily customize this cereal to suit your taste preferences or dietary needs, transforming your breakfast experience into something truly special.
Nutty Twist
Adding a handful of your favorite nuts can enhance both the flavor and the crunch of your homemade cookie crisp cereal. Almonds, pecans, or walnuts not only provide a satisfying bite but also pack a nutritious punch.
Chocolate Lovers Delight
For those who crave a little extra sweetness, consider mixing chocolate chips directly into your cereal mixture before baking. This creates lovely chocolatey pockets that melt slightly, giving you bursts of rich flavor with every bite—perfect for a sweet morning treat!
Sweet and Spicy
Try adding a pinch of cinnamon or nutmeg to your dough for a warm, inviting spice. This not only elevates the flavor but also makes your kitchen smell heavenly as it bakes.
Fruity Addition
Dried fruits like cranberries, raisins, or bananas can bring a delightful sweetness and chewy texture to your homemade cookie crisp cereal. Sprinkle them in before baking, or toss them in afterwards for a contrasting texture!
Gluten-Free Option
If you’re looking to keep your breakfast gluten-free, substitute the all-purpose flour with a gluten-free blend. You can still achieve the same addictive crunch without compromising on flavor.
Experimenting with these variations will help you discover your perfect bowl of homemade cookie crisp cereal! So get creative and enjoy the process!
Cooking Tips and Notes for Homemade Cookie Crisp Cereal
Crafting your own homemade cookie crisp cereal is a delightful adventure that brings the nostalgia of childhood cereal into your kitchen. Not only can you revel in the aroma of fresh cookies baking, but you also gain the satisfaction of knowing exactly what’s in your food. Here are some valuable tips to ensure your homemade creation turns out just right:
Choose Quality Ingredients Wisely
- Flour: I recommend using all-purpose flour for the best texture. If you’re looking for a gluten-free option, feel free to swap it with a 1:1 gluten-free flour blend.
- Sweeteners: Opt for a mix of granulated sugar and brown sugar. This combination gives your cereal that golden brown color and sweetness reminiscent of classic cookie flavors.
Mixing Matters
- Butter and Sugar: Creaming your butter and sugars until light and fluffy is key. This aeration step ensures a tender, crunchy texture.
- Don’t Overmix: Once you add the dry ingredients, mix just until combined. Overmixing can lead to tougher cookies, which isn’t what we want for our homemade cookie crisp cereal.
Baking Techniques
- Texture Check: For a crispier finish, bake until the edges are golden brown. This extra time in the oven will ensure your cereal holds up in milk!
- Cooling is Crucial: After baking, allow your cookie crisp to cool completely on the baking sheet. This will help it crisp up even more as it cools.
These tips will help you whip up a bowl of nostalgic joy that’s perfect for breakfast or a midnight snack!

Serving Suggestions for Homemade Cookie Crisp Cereal
Every bowl of homemade cookie crisp cereal can transform your breakfast routine into a delightful experience. Picture this: you’ve just whipped up your own batch of cookie-inspired cereal, and now it’s time to enjoy it in unique ways that elevate the everyday breakfast to something special.
Classic Milk Pairing
Let’s start with the basics. There’s nothing quite like enjoying your crispy little cookies with a generous splash of cold milk. Whether you prefer whole milk, almond milk, or a splash of oat milk, the creaminess complements the crunchy texture perfectly. A personal favorite is to let the cereal soak for a minute—just enough to soften slightly without losing that delightful crunch.
Yogurt Delight
Want to take your breakfast up a notch? Try layering your homemade cookie crisp cereal with yogurt. Greek yogurt adds a protein boost while creating a creamy contrast with the crunchy cereal. Toss in some fresh berries or a drizzle of honey for added sweetness. It feels indulgent yet wholesome!
Snack Attack
Don’t limit your homemade cereal to just breakfast. Pack some of these crunchy delights in a small container for an on-the-go snack. They’re perfect for midday cravings or post-work-out munchies. You’ll find that the nostalgic taste is equally satisfying, no matter the hour.
Toppings Galore
Feeling adventurous? Top your homemade cookie crisp cereal with sliced bananas, a sprinkle of cinnamon, or even a dollop of nut butter. These add-ins not only enhance flavor but also add nutritional value, making each bite even more enjoyable.
By experimenting with these suggestions, you’ll find that your homemade cookie crisp cereal can fit seamlessly into various meals throughout your day!
Time Breakdown for Homemade Cookie Crisp Cereal
Preparation Time
Creating your own homemade cookie crisp cereal begins with about 15 minutes of prep. This is the stage where you’ll gather all your ingredients, mix them, and roll the dough out. Don’t rush—enjoy the process of crafting something uniquely yours!
Baking Time
The baking phase takes around 20-25 minutes. As your delightful cookie cereal bakes, your kitchen will fill with a warm, sweet aroma that’s hard to resist. Keep an eye on it to ensure each piece is perfectly golden and crunchy!
Total Time
In total, you’re looking at approximately 40-45 minutes from start to finish. It’s a small investment of time for a homemade treat that’s perfect for breakfast or a snack. Enjoy the fruits of your labor with a bowl of your best milk—every bite is worth the wait!
Nutritional Facts for Homemade Cookie Crisp Cereal
When you dive into the world of homemade cookie crisp cereal, you’ll experience not just nostalgia but also a delightful crunch in every bite. Knowing the nutritional profile adds to the joy, allowing you to appreciate its components.
Calories
In each serving of this delicious cereal, you’ll find approximately 120 calories. That’s a sweet spot for breakfast or a midday snack without straying too far from your nutritional goals.
Protein
You’ll get a decent boost with about 3 grams of protein per serving. While it’s not a heavyweight in that department, it pairs nicely with milk or yogurt to help keep you satisfied.
Sodium
The sodium content is relatively low, generally around 100 milligrams per serving, making this homemade cookie crisp cereal a heart-friendly choice to start your day on the right foot.
Exploring the balance of flavors in this homemade treat can truly elevate your breakfast experience while keeping things nutritious!
FAQs About Homemade Cookie Crisp Cereal
Creating your own homemade cookie crisp cereal can be a delightful culinary adventure, but questions often pop up along the way. Let’s tackle a few of the most common inquiries to make your experience as enjoyable as possible.
Can I make this gluten-free?
Absolutely! To whip up a gluten-free version of your homemade cookie crisp cereal, simply swap out regular all-purpose flour with a gluten-free flour blend. There are plenty of excellent options available, and many are designed for baking, which will yield a delightful crunch just like the original! Just be mindful of cross-contamination if you have severe gluten sensitivities.
How do I store leftover cookie crisps?
Storing your leftover homemade cookie crisp cereal is simple and helps maintain its delicious texture. Make sure to let the cookie crisps cool completely before placing them in an airtight container. This prevents moisture from ruining their crunch. If stored properly, they can last for up to two weeks on your kitchen counter or pantry. Just keep them away from direct sunlight!
What can I substitute for the maple syrup?
If you’re looking to replace maple syrup in your homemade cookie crisp cereal, honey or agave nectar are excellent alternatives, providing a similar sweetness and sticky texture. You can even use coconut sugar dissolved in a bit of warm water if you prefer a less sugary option. Each substitute will bring a slightly different flavor profile, so feel free to experiment!
Conclusion on Homemade Cookie Crisp Cereal
In wrapping up your journey to create homemade cookie crisp cereal, it becomes clear that this delightful recipe not only conjures memories of childhood breakfasts but also satisfies the cravings of grown-ups. Each bite offers a perfect balance of sweetness and crunch, making your mornings a little brighter.
Preparing this cereal can be a fun activity to share with friends or an easy solo kitchen project. Whether enjoyed with milk or as a snack on-the-go, you’ll find yourself reaching for this healthier alternative to store-bought options time and again. Embrace the joy of creating something delicious and nostalgic at home!
Print
Chocolate Chip Cookies
- Total Time: 23 minutes
- Yield: 24 cookies 1x
- Diet: Vegetarian
Description
Delicious and easy chocolate chip cookies made with a blend of flours and sweetened with maple syrup.
Ingredients
Scale
- ¾ cup all-purpose flour
- ¾ cup oat flour
- ¼ cup cornstarch
- ½ teaspoon baking powder
- ½ teaspoon kosher salt
- ½ cup unsalted butter, melted and cooled
- ¾ cup maple syrup
- 1 teaspoon vanilla extract
- 1 egg
- ¼ cup mini chocolate chips, chopped
Instructions
- Preheat the oven to 350˚F / 175˚C.
- To a small bowl, add the all-purpose and oat flour, cornstarch, baking powder, and salt. Whisk to combine until fully incorporated, and set aside.
- To a larger mixing bowl, add the melted butter, maple syrup, vanilla, and egg. Whisk to combine until fully incorporated.
- Add the dry ingredients into the wet in two batches, fully combining between additions until no dry streaks remain in the batter.
- Fold in the chopped chocolate chips.
- Transfer the dough to a piping bag fitted with a 2A size piping tip. You can also use a plastic zip-top bag to pipe the cookies, and cut the tip a little smaller than 1/2 inch.
- Pipe small circles about the size of a dime onto a parchment lined cookie sheet. The cookies don’t spread much, so they can be close together.
- Bake for 5-8 minutes, until they’re golden on the bottom and around the edges.
- Remove from the oven and let them cool on the pan. They’ll crisp up more as they cool.
- Enjoy by the handful, or in a bowl with milk!
Notes
- Use gluten-free flour for a gluten-free version.
- Store cookies in an airtight container for up to a week.
- Prep Time: 15 minutes
- Cook Time: 8 minutes
- Category: Dessert
- Method: Baking
- Cuisine: American
Nutrition
- Serving Size: 2 cookies
- Calories: 120
- Sugar: 10g
- Sodium: 50mg
- Fat: 7g
- Saturated Fat: 4g
- Unsaturated Fat: 2g
- Trans Fat: 0g
- Carbohydrates: 14g
- Fiber: 1g
- Protein: 2g
- Cholesterol: 15mg