Follow Me On Social Media!
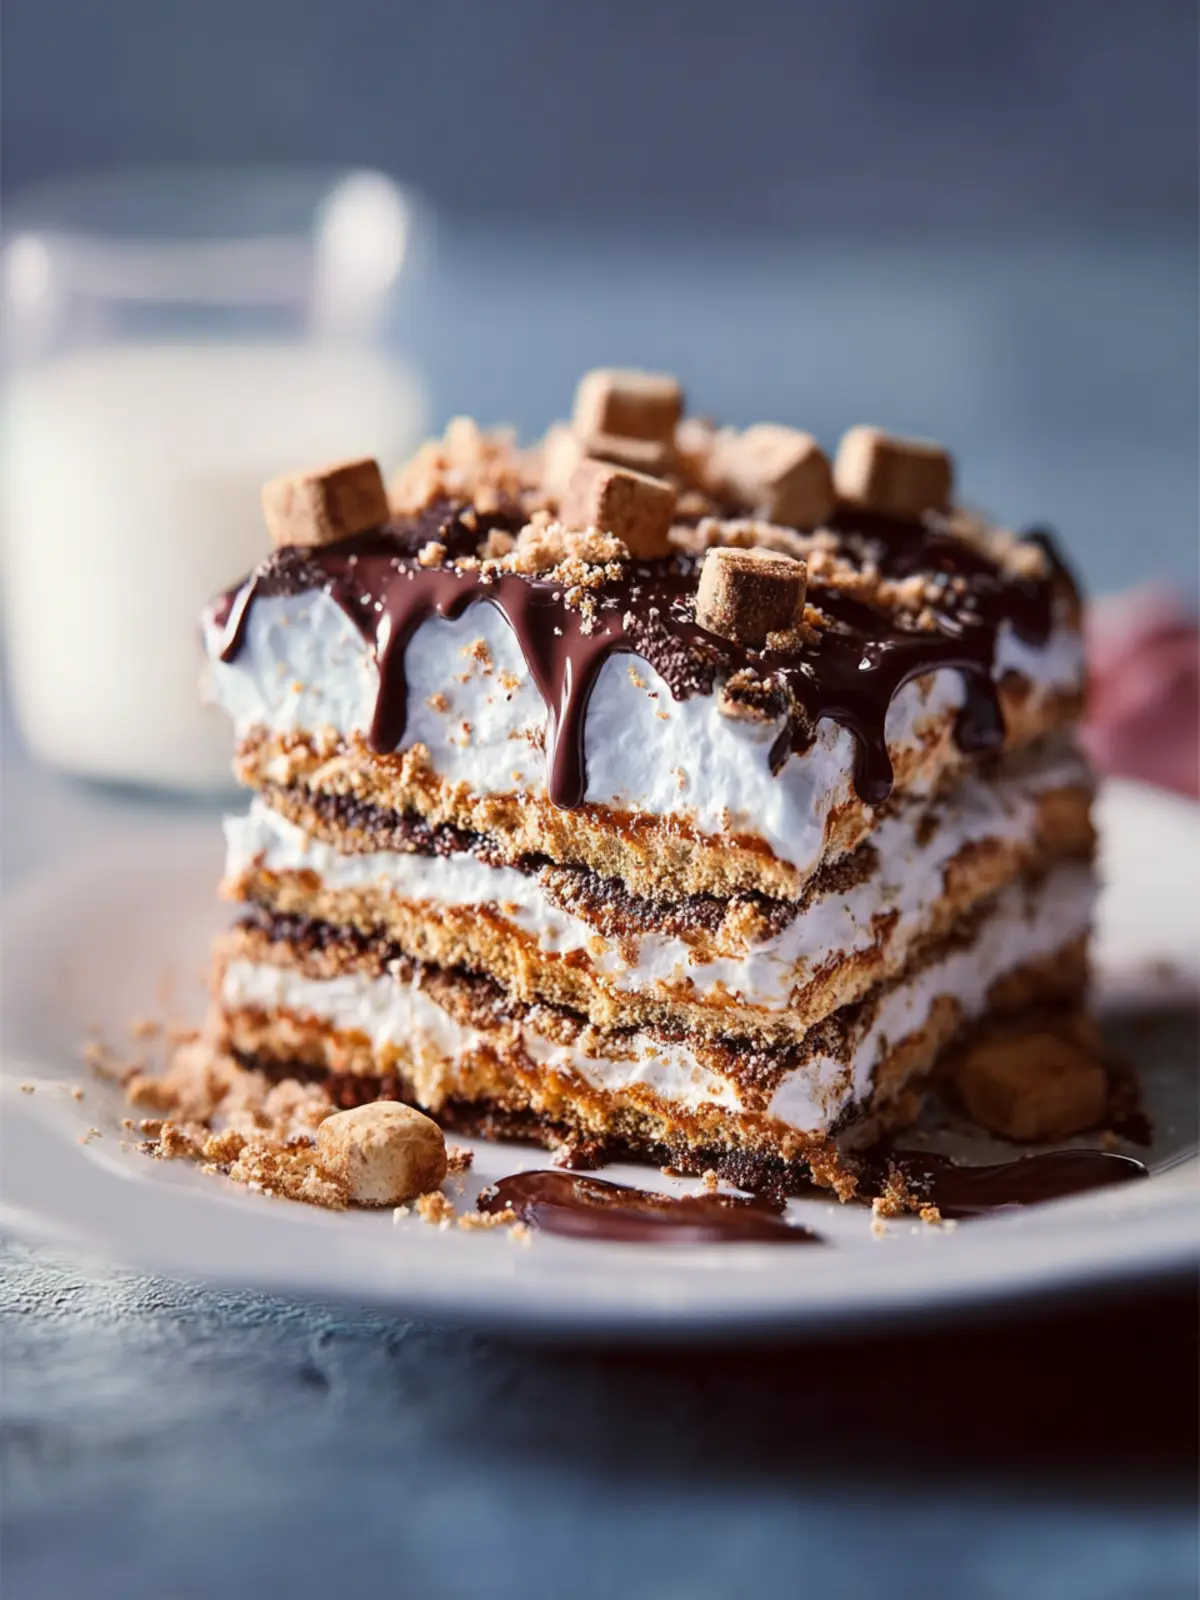
S’mores Icebox Cake: Indulgent Summer Delight Made Easy
Introduction to S’mores Icebox Cake
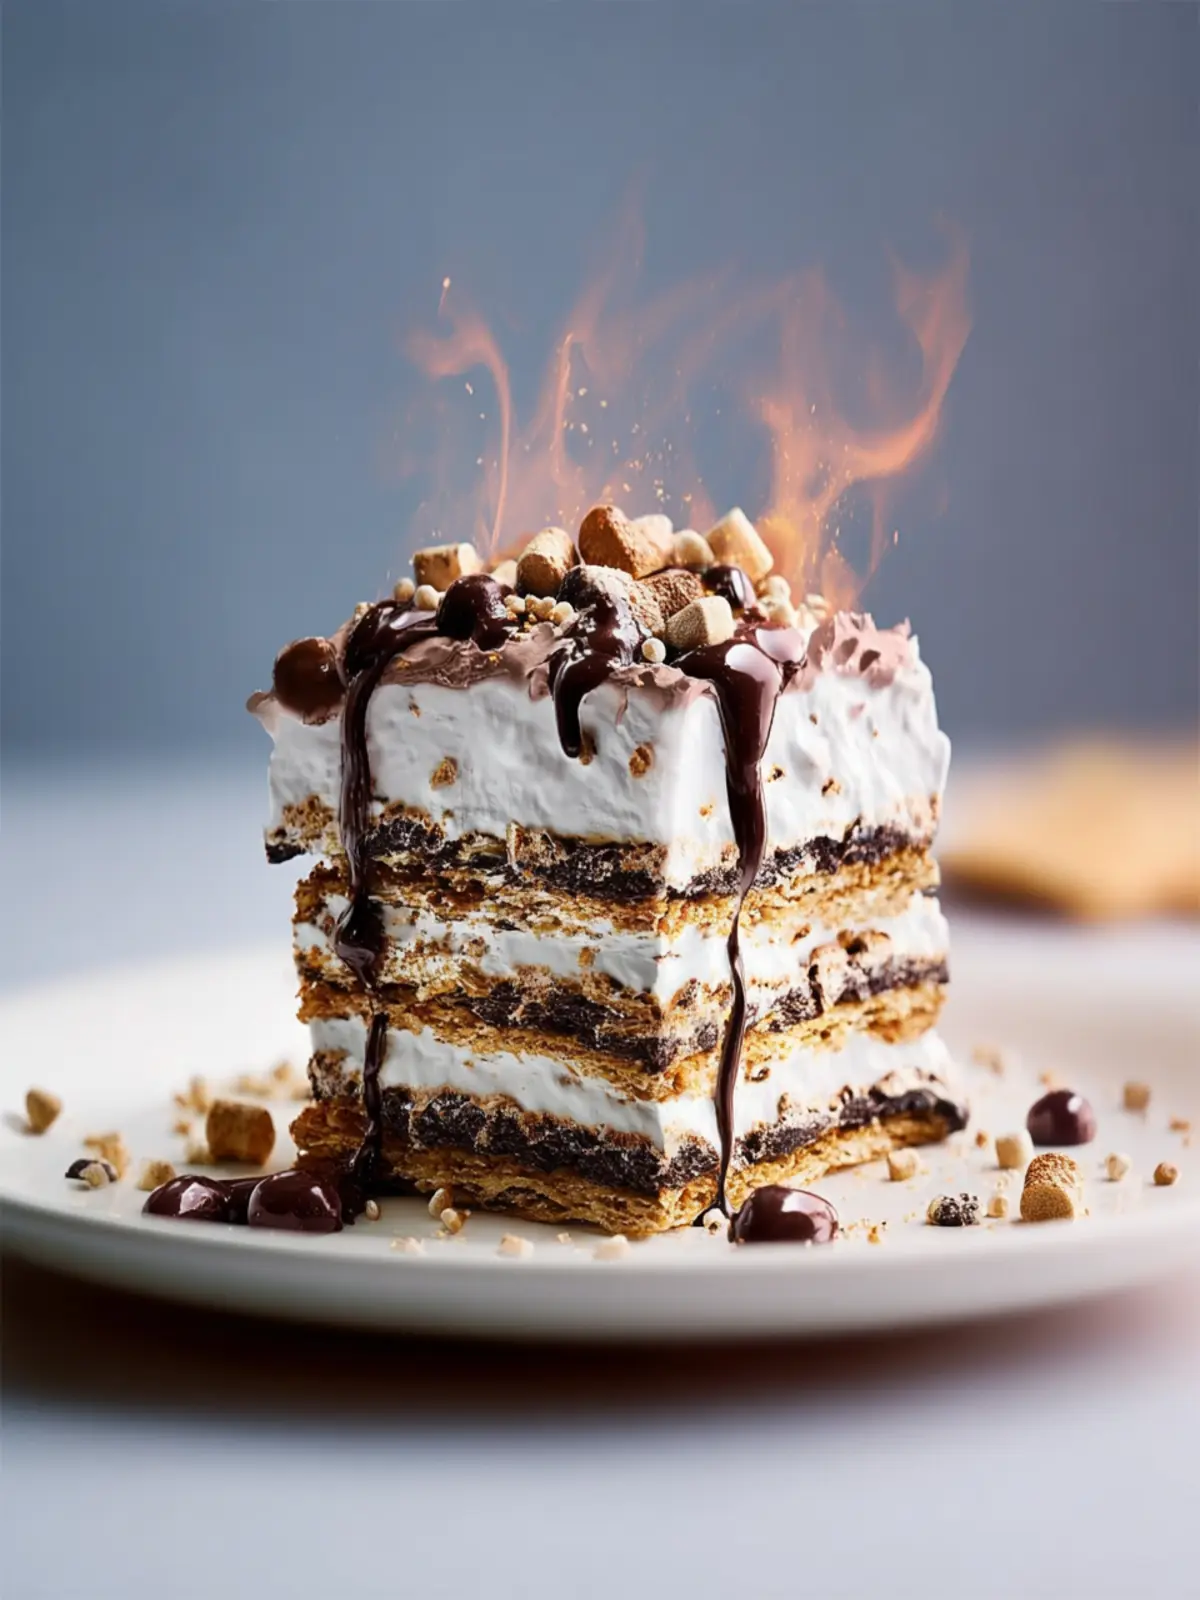
Imagine the nostalgic taste of s’mores you enjoyed around the campfire, but in a luscious, no-bake cake format that’s perfect for any occasion. The S’mores Icebox Cake is designed for those of us who crave the symphony of flavors from graham crackers, rich chocolate, and creamy marshmallows without the need for an oven. This delightful dessert combines simplicity with the satisfaction of a homemade treat that will have friends and family lining up for seconds.
There’s something undeniably tempting about the layers of creamy filling nestled between crisp graham crackers and topped with melted chocolate and toasted marshmallows. Each bite is a celebration of texture and taste, blending the crunch of the graham cracker crust with the silky smoothness of the filling. Whether it’s a summer picnic, a festive gathering, or just a sweet treat at home, the S’mores Icebox Cake promises to be a crowd-pleaser.
What makes S’mores Icebox Cake irresistible?
- No Baking Required: This is perfect for those hot days when you want something sweet but don’t want to heat up your kitchen. Just layer, chill, and serve!
- Guilt-Free Indulgence: With its chilled creamy layers, it’s a dessert that feels indulgent yet refreshing. You can customize it with lighter versions of your favorite ingredients, offering a more guilt-free treat.
- Customizable: Love peppermint? Try adding crushed candy canes during the holidays. Feeling adventurous? Swap in some peanut butter or Nutella for a unique twist that will still capture that beloved s’mores essence.
- Easy to Assemble: Layering is fun and engaging; it’s a great activity to do with friends or family. And let’s be honest, who doesn’t enjoy a little messy fun when creating desserts?
The S’mores Icebox Cake not only captures the essence of summer nights spent around the fire but also transforms it into a modern, hassle-free dessert. With this dessert in your repertoire, you’ll always have a go-to treat that’s both satisfying and easy to whip together!

Key Ingredients for S’mores Icebox Cake
Creating the perfect S’mores Icebox Cake is about harnessing a blend of delectable ingredients that evoke memories of cozy campfires and sweet indulgence. Every layer should encapsulate that classic s’mores flavor while remaining refreshingly light.
-
Graham Crackers: The foundation of your cake! I love using a buttery variety since they bring a satisfying crunch that mimics the essence of toasted marshmallows. You can opt for store-bought or make your own if you’re feeling adventurous.
-
Chocolate Pudding: For the ultimate creamy texture, rich chocolate pudding is essential. Whether you choose instant or homemade, it imparts the indulgent chocolate flavor we crave in a s’mores experience.
-
Whipped Cream: Light and fluffy, whipped cream adds a cloud-like quality to your cake. You can whip up fresh cream or use a pre-made option for convenience—either way, it’s the frosting that holds everything together.
-
Mini Marshmallows: These little bites of sweetness are key! They soften beautifully and ooze flavor as they get nestled between the layers, creating that classic s’mores experience.
With these ingredients in hand, you’re well on your way to crafting a delightful S’mores Icebox Cake that will enchant your friends and family alike!
Why You’ll Love This S’mores Icebox Cake
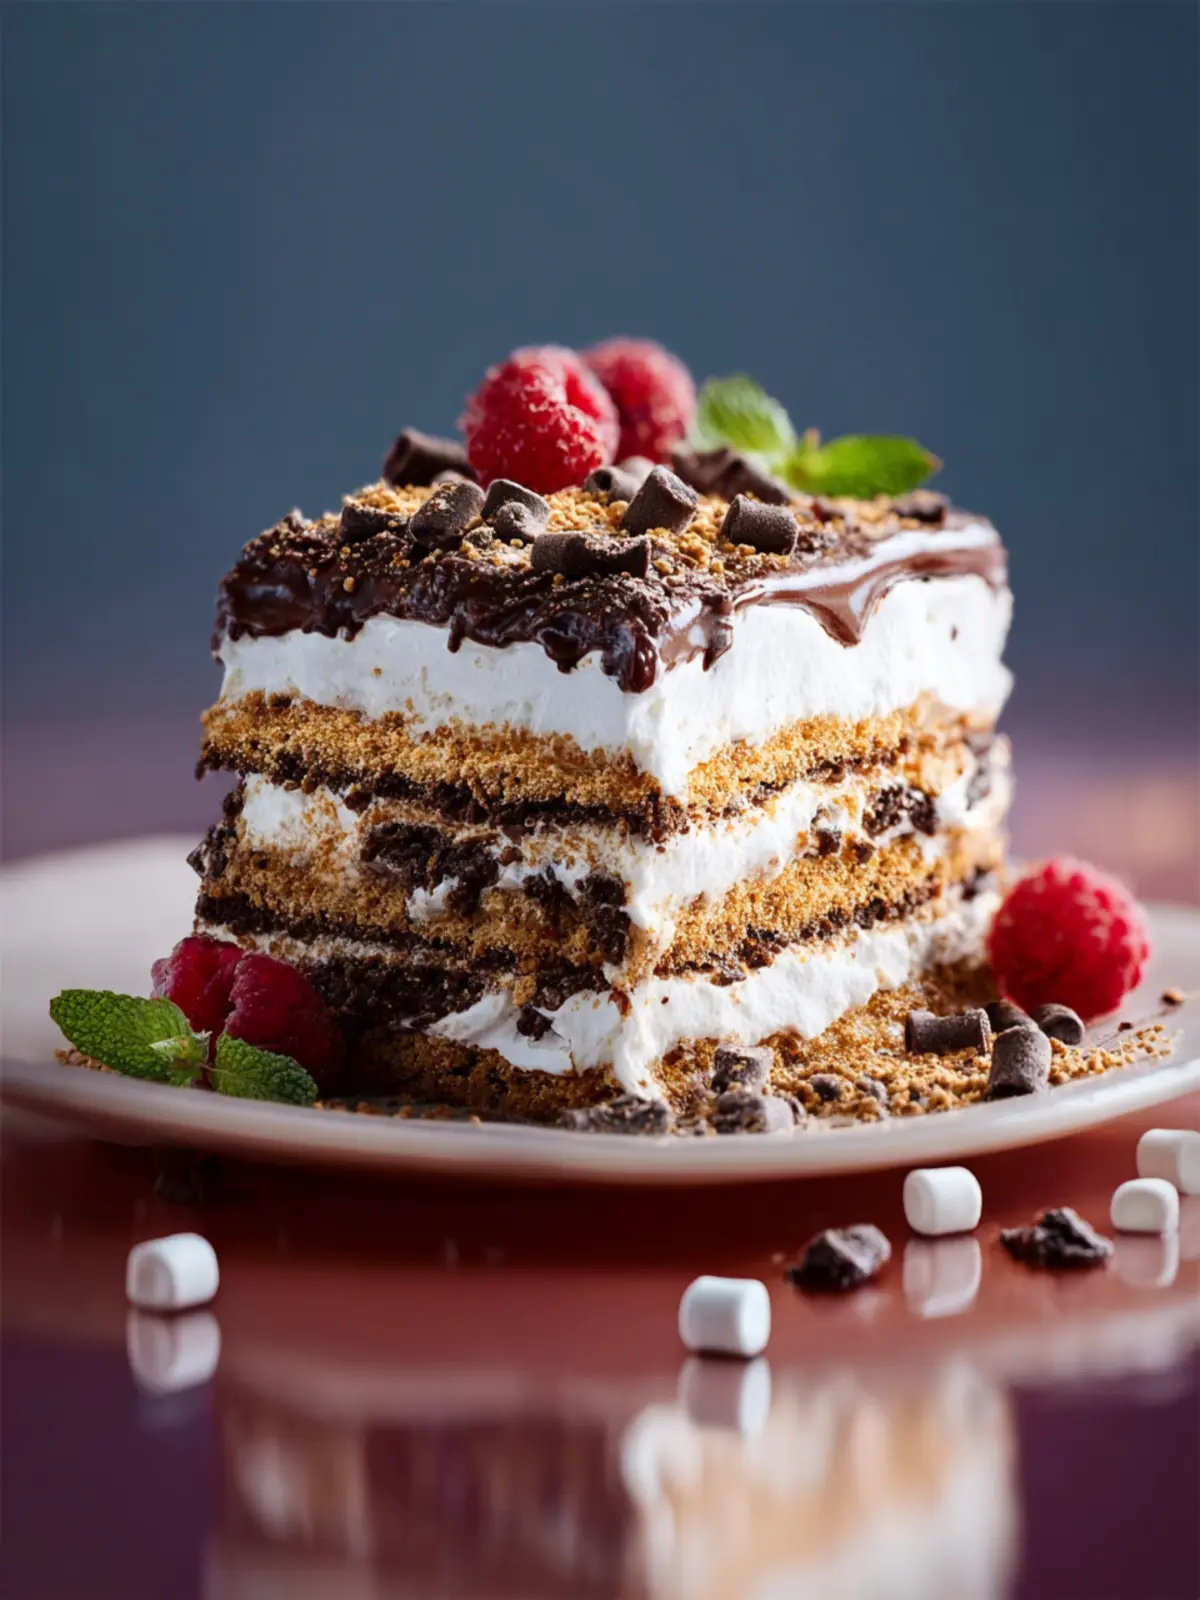
Imagine warm summer evenings spent by a crackling campfire, surrounded by friends. As you toast marshmallows and savor the rich, gooey sweetness of s’mores, this S’mores Icebox Cake transports you right back to those nostalgic moments. It’s the perfect no-bake dessert that captures the beloved flavors of graham crackers, melty chocolate, and toasted marshmallows, all layered into a creamy dream that’s deceptively easy to make.
Effortless Preparation
There’s nothing quite like a dessert that doesn’t require an oven, especially during the sweltering summer months. The S’mores Icebox Cake is incredibly simple to prepare, making it ideal for busy young professionals who want to impress without the stress. With just a handful of ingredients, you can whip up this delicious treat in no time.
Crowd-Pleaser
This delightful dessert is sure to be a hit at any gathering. Whether it’s a casual get-together or a backyard barbecue, the S’mores Icebox Cake will have everyone coming back for seconds. Plus, it caters to various dietary preferences, as you can easily adapt the recipe for gluten-free or dairy-free options.
No Baking Required
Think of the time saved with a no-bake option when you want to enjoy a slice of s’mores heaven. The beauty of this cake lies in its layers that set beautifully in the refrigerator, allowing you to enjoy the flavors without the fuss of baking.
If you love s’mores as much as I do, this icebox cake will quickly become your go-to dessert, ensuring those sweet memories linger long after the last bite.
Tips for Making a Perfect S’mores Icebox Cake
Creating the ultimate S’mores Icebox Cake is not just about following a recipe; it’s about crafting a sweet experience that evokes cozy campfire memories. To ensure yours is nothing short of spectacular, here are some friendly tips to guide you along the way.
Choose the Right Chocolate
When selecting chocolate for your S’mores Icebox Cake, consider a good quality semisweet or dark chocolate. It melts beautifully and balances perfectly with the sweetness of the marshmallow and graham crackers. For an extra layer of flavor, try adding a pinch of sea salt to amplify the chocolate’s richness.
Opt for Fresh Ingredients
Using fresh, high-quality ingredients makes a world of difference. Crisp, crunchy graham crackers will hold up better against the moisture in the layers. For the cream component, heavy whipping cream ensures a light, airy texture that contrasts nicely with the chocolate.
Layering Matters
As you assemble your cake, don’t rush the process. Start with a solid layer of graham crackers, followed by your chocolate and marshmallow mixture. Make sure to spread the layers evenly, creating a harmonious balance of flavors in every slice.
Chill Time is Key
Allow your S’mores Icebox Cake plenty of time to chill in the fridge. Ideally, let it sit overnight; this allows the flavors to meld together and the graham crackers to soften, making each bite a dreamy experience.
Following these tips will help you create a S’mores Icebox Cake that’s not just delicious but also a delightful centerpiece for any gathering. So gather your ingredients and let the fun begin!
Time Breakdown for S’mores Icebox Cake
Creating a delightful S’mores Icebox Cake is not only pleasurable but also requires just the right amount of time. Let’s break it down so you can plan your sweet indulgence perfectly.
Preparation time
You’ll need about 30 minutes to gather your ingredients and assemble the layers of this delicious cake. Make sure you have everything on hand to keep the momentum going!
Cooling time
Once you’ve assembled your cake, it’s crucial to let it chill in the fridge for at least 4 hours, or overnight if you can wait! This allows the flavors to meld beautifully and gives the cake the right texture.
Total time
From start to finish, including preparation and chilling, you’re looking at about 4.5 hours. This may seem long, but trust me—every minute is worth it once you slice into that scrumptious S’mores Icebox Cake. Enjoy the anticipation!
Nutritional Facts for S’mores Icebox Cake
Creating a delicious S’mores Icebox Cake is not just about the delightful combination of flavors; it’s also about understanding its nutritional content. Here’s a friendly breakdown to help you savor each slice without guilt.
Calories
One serving of this delectable S’mores Icebox Cake comes in at approximately 300 calories. This makes it an indulgent treat that can still fit into your dessert budget.
Protein
If you’re counting protein, you’ll find about 5 grams per slice. While it’s not a protein powerhouse, it contributes to the overall balance of your meal.
Sugar
As for sweetness, this cake contains roughly 20 grams of sugar per serving. It’s the perfect amount to satisfy your sweet tooth while reliving those nostalgic campfire memories!
Enjoy your dessert with this nutritional perspective in mind, making your S’mores Icebox Cake not only a delightful treat but also a mindful indulgence.
FAQs about S’mores Icebox Cake
The S’mores Icebox Cake is a delightful blend of graham crackers, chocolate, and marshmallow fluff, creating a sweet escape that feels just like summer camping trips. As with any recipe, curious minds often have questions to ensure their cooking experience is smooth and successful. Here are some frequently asked questions about this delicious dessert.
Can I make this cake gluten-free?
Absolutely! To create a gluten-free version of the S’mores Icebox Cake, simply substitute traditional graham crackers with gluten-free options. Many brands now offer gluten-free graham crackers that maintain the same great taste and texture. Additionally, double-check any other ingredients, like chocolate and marshmallow fluff, to confirm they are gluten-free. Enjoying this classic treat without gluten is easier than you might think!
How do I store leftovers?
When it comes to storing leftovers of your S’mores Icebox Cake, keep it simple. Use an airtight container or cover the dish with plastic wrap to ensure it stays fresh. It can be stored in the refrigerator for up to 3-5 days. Just remember to let it sit out for a few minutes before serving again, as this helps the flavors shine through and improves the texture.
Can I substitute ingredients?
Sure thing! One of the joys of the S’mores Icebox Cake is its flexibility. If you don’t have a specific type of chocolate, feel free to use milk chocolate or dark chocolate based on your preference. For a twist, you might try using flavored marshmallow fluff or adding layers of your favorite nuts. Just remember, keep the basic structure the same to ensure that the cake sets properly, and you’ll still enjoy a delicious outcome!
Conclusion on S’mores Icebox Cake
In summary, the S’mores Icebox Cake is not just a dessert; it’s a delightful experience that stirs up fond memories of campfire nights. The rich layers of chocolate, marshmallow, and graham crackers blend seamlessly to create a delectable treat that’s simple enough for busy weeknights yet impressive enough for gatherings. Remember, the key to a successful icebox cake is allowing it time to set—patience truly pays off! So, whether it’s for a summer BBQ or a cozy dinner, this dessert is bound to become a favorite. Enjoy every bite and the joyful reactions it brings to your table!
Print
Chocolate Marshmallow Graham Bars
- Total Time: 12 hours
- Yield: 16 servings 1x
- Diet: Vegetarian
Description
Delicious layered bars with chocolate ganache, marshmallow cream, and graham crackers.
Ingredients
Scale
- 12 ounces semi-sweet chocolate chips (about 2 cups)
- 3 cups heavy cream (divided)
- 2 tablespoons powdered sugar
- 1/2 teaspoon vanilla bean paste (or 1 teaspoon vanilla extract, optional)
- 7 ounces marshmallow creme
- 14 ounces honey graham crackers
- 2 large egg whites
- 1/2 cup granulated sugar
- 1/4 teaspoon cream of tartar
Instructions
- Pour chocolate chips in a large, heat-safe bowl. Scald 1 cup (240g) of the heavy cream (I add it to a glass measuring cup and microwave for 45–90 seconds). Pour the hot heavy cream over the chocolate chips and cover the bowl with a clean lid (so no heat escapes). Let stand 5 minutes, then stir until smooth. This may take a few minutes. If needed, heat the mixture in the microwave in bursts of 10 seconds, stirring in between for 10 seconds until the chocolate mixture is completely smooth. Set aside at room temperature.
- Pour remaining 2 cups (480g) heavy cream, powdered sugar, and vanilla in the base of a stand mixer fitted with a whisk attachment. Beat on low for 30 seconds to combine and gradually increase until at full speed. Beat, watching carefully, until soft peaks form (about 2–4 minutes). Add all the marshmallow fluff and slowly beat to combine. Increase the speed to medium high until ingredients are combined and peaks are firm (about 30 seconds up to 1 minute). Set aside.
- Line a 9×9-inch baking pan with parchment paper (helps bars come out nicely). Spread a tiny bit of the marshmallow cream on the bottom (just enough to hold graham crackers in place). Spread an even layer of graham crackers and 1/4th of the marshmallow cream on top. Smooth with the back of a spoon into an even layer. Add 1/3 of the room-temperature chocolate ganache. Smooth with a table knife into an even layer. (This takes some patience!) Add another layer of graham crackers, 1/4th of the marshmallow mixture, and 1/3 of the chocolate mixture. Add another layer of graham crackers, 1/4th of marshmallow mixture, and remaining 1/3 of chocolate. Add 1 last layer of graham crackers and the last 1/4th of the marshmallow mixture. You should be at the top of the pan. Cover the pan tightly and place in the fridge for at least 8 hours and preferably 12 hours.
- Optional Meringue: Place egg whites, sugar, and cream of tartar in a heatproof bowl. Set the bowl in a pot filled with 2 inches of simmering water over medium heat. Don’t let the bowl touch that water. Whisk constantly with a whisk until sugar is dissolved completely and the mixture has become bright white. (You can tell the sugar has dissolved by pinching off some of the mixture and rubbing it between your fingers, if you can feel a lot of sugar granules, keep mixing!)
- Transfer to a stand mixer (or use a hand mixer) and beat until stiff peaks form, about 5 minutes at high speed. Using a spatula, add dollops of the meringue all over the top of the cake. Gently coax the meringue to top the cake with the back of a spoon—this takes some patience to not lift up the top layer! Use a fork to run over the top, creating small rough ridges and peaks. If you have a kitchen torch, singe the peaks until lightly browned (move the kitchen torch along the meringue quickly—it will toast it very fast).
- Use the overhang of parchment to carefully remove bars from pan onto a cutting board. Use a sharp knife, run the knife under warm water, dry on a kitchen towel, and make decisive cuts. Repeat this process for each cut made.
Notes
- Make sure the ganache is completely cooled before layering it in the bars.
- For best results, refrigerate the bars overnight before cutting and serving.
- Prep Time: 30 minutes
- Cook Time: 10 minutes
- Category: Dessert
- Method: No-Bake
- Cuisine: American
Nutrition
- Serving Size: 1 bar
- Calories: 250
- Sugar: 20g
- Sodium: 50mg
- Fat: 15g
- Saturated Fat: 9g
- Unsaturated Fat: 4g
- Trans Fat: 0g
- Carbohydrates: 28g
- Fiber: 1g
- Protein: 3g
- Cholesterol: 40mg