Follow Me On Social Media!

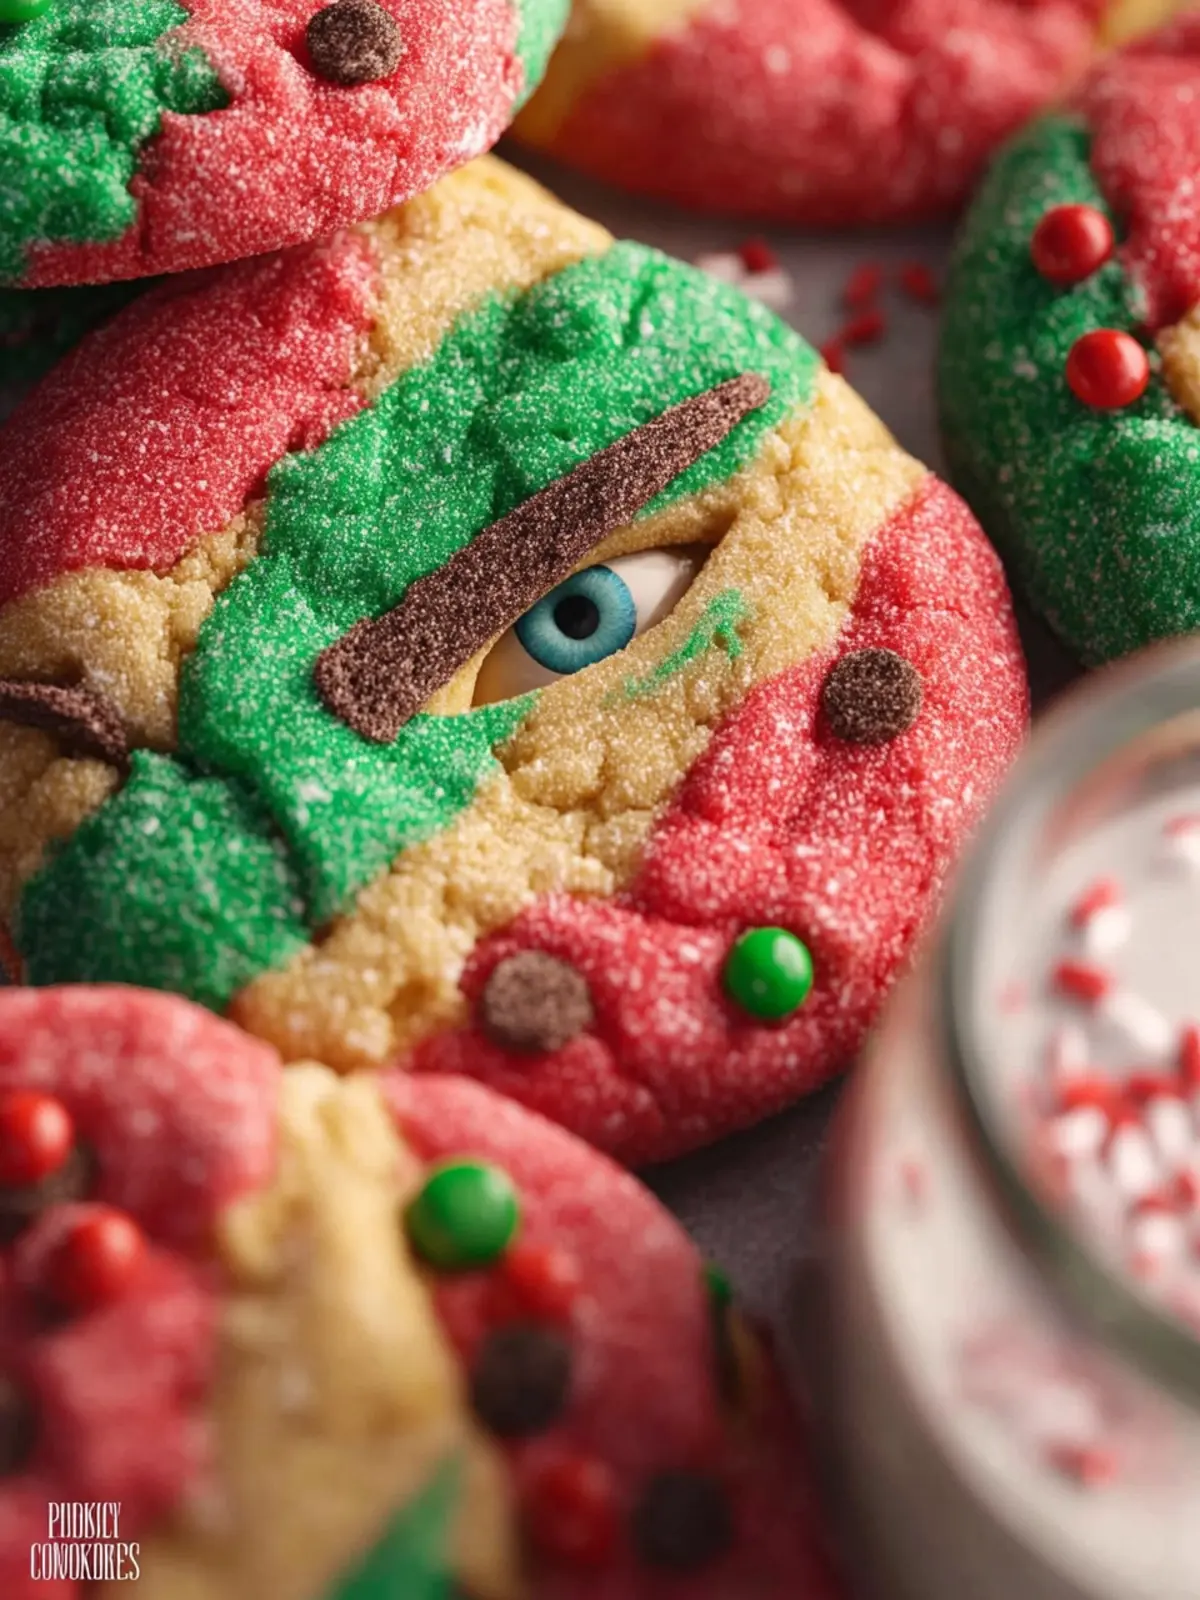
Elf Cookies: Indulgent Festive Treats for Every Home Baker

Introduction to Elf Cookies
Elf cookies have a magical way of transforming any holiday gathering into a whimsical experience, filled with laughter and cheer. Picture yourself in a cozy kitchen, surrounded by the warm scents of cinnamon and sugar, as you create these delightful treats that capture the essence of the season. Each bite of these festive cookies brings a touch of joy, making them a must-have at holiday celebrations everywhere. It’s like savoring a piece of holiday spirit, wrapped in colorful sprinkles!
Designed to be visually appealing and irresistibly tasty, these cookies are the perfect activity for friends or family. As you roll the dough and shape it into adorable elf characters, you can embrace your inner child, creating memories that will last a lifetime. Plus, with their vibrant colors, elf cookies make for an excellent centerpiece on any holiday dessert table, showcasing your creativity and holiday spirit.
What makes Elf Cookies a holiday favorite?
Why do these elf cookies hold such a special place in our hearts during the holidays? Maybe it’s the way they remind us of holiday movies filled with magical forests and cheerful characters. Or perhaps it’s the satisfaction of biting into a soft, buttery cookie that melts in your mouth. Here are a few reasons elf cookies are a seasonal favorite:
-
Nostalgia: These cookies often evoke fond memories of baking with loved ones during the holiday season. Each batch serves as a reminder of shared stories and moments around the kitchen counter.
-
Customization: You can easily adapt the recipe by adding your favorite flavors, be it peppermint, chocolate, or nuts. The possibilities to create a unique twist are endless!
-
Fun for All Ages: Whether you’re hosting a holiday party or having a quiet evening at home, making elf cookies is a fun activity that everyone can enjoy. It’s the perfect way to get everyone involved in the festive spirit.
-
Gift-Worthy: Pack these cookies into jars or festive containers, and you’ve got a heartfelt, homemade gift for friends, family, or neighbors.
In short, elf cookies are not just a treat; they’re a delightful way to bring people together during the holidays, filled with creativity, nostalgia, and joy.
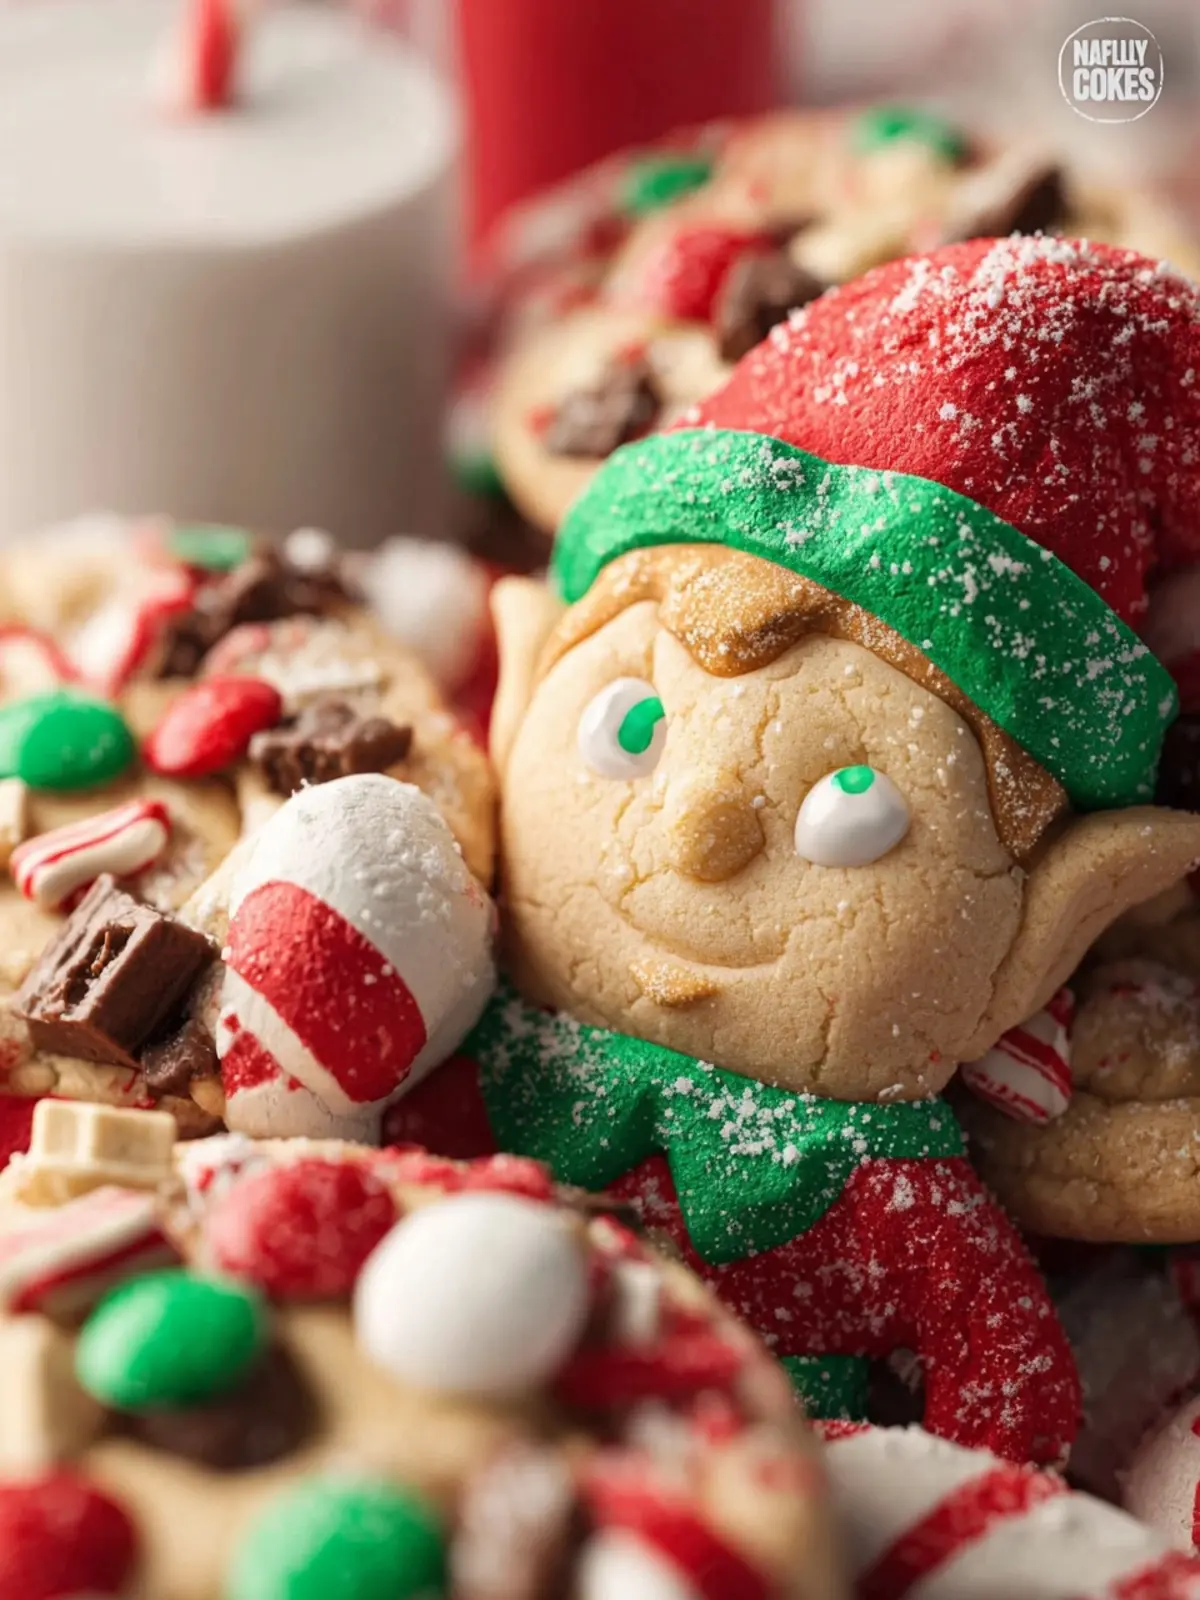
Key Ingredients for Elf Cookies
Creating elf cookies feels like stepping into a winter wonderland, where every bite is a sprinkle of magic. These delightful treats are not only perfect for the holiday season but also embody the joy of baking with loved ones. Let’s explore the essential ingredients that make these cookies truly special.
Flour
All-purpose flour is the backbone of elf cookies, providing the ideal texture and structure. It’s versatile and ensures our cookies turn out soft and chewy—just as Santa would like them!
Sugar
A blend of granulated and brown sugar gives the cookies a beautiful balance of sweetness. The brown sugar adds a hint of moisture and a deeper flavor, which is key to achieving that cozy, warm taste.
Butter
Using unsalted butter in elf cookies creates a rich and creamy base. I recommend letting it soften at room temperature for a couple of hours before mixing. This helps achieve that perfect, melt-in-your-mouth quality.
Eggs
Eggs serve as a binding agent in the dough. They help the cookies rise and contribute to their delightful chewiness.
Baking Soda
This ingredient is crucial for leavening the cookies, making them fluffy and light. It works in harmony with the brown sugar to enhance the gorgeously baked flavor.
Spices and Vanilla
A dash of vanilla extract complements the sweetness, while incorporating spices like cinnamon or nutmeg can add a magical warmth that transports you straight to the North Pole.
Mix-ins
Don’t forget the fun part—mix-ins! Chocolate chips, nuts, or festive sprinkles can elevate these elf cookies to a whole new level and bring out your inner child.
These key ingredients come together to create a batch of elf cookies that will delight your family and friends, filling your home with warmth and joy. Happy baking!
Why You’ll Love These Elf Cookies
Imagine stepping into a cozy kitchen during the holiday season, where the air is filled with the irresistible aroma of freshly baked elf cookies. These delightful treats aren’t just cookies; they’re little parcels of joy that will warm your heart and satisfy your sweet tooth.
Irresistibly Fun to Make
One of the best parts about these elf cookies is that they’re a blast to whip up. Gather your friends or family, roll up your sleeves, and let the holiday spirit take over! The vibrant colors of the frosting and sprinkles allow everyone to get creative, making it a memorable experience. Plus, there’s something inherently cheerful about baking in elf-themed layers that just lightens the mood.
A Treat for Everyone
Whether you’re hosting a holiday party or simply indulging in some festive spirit at home, elf cookies cater to all tastes. With a soft and chewy texture, they offer a delightful contrast to the crunchy toppings. Plus, the versatility of the decorating options—think colorful icing, fun sprinkles, and whimsical designs—ensures that these cookies are as appealing to the eyes as they are to the palate.
Perfect for Gifting
Looking for a thoughtful gift? These adorable cookies are perfect for sharing! Package them in cute holiday tins or boxes, and you’ll have heartfelt gifts that your friends and family will appreciate. Who wouldn’t love receiving a box filled with delightful homemade elf cookies?
When you bake these treats, what you’re really creating is a little slice of holiday magic—one batch at a time.
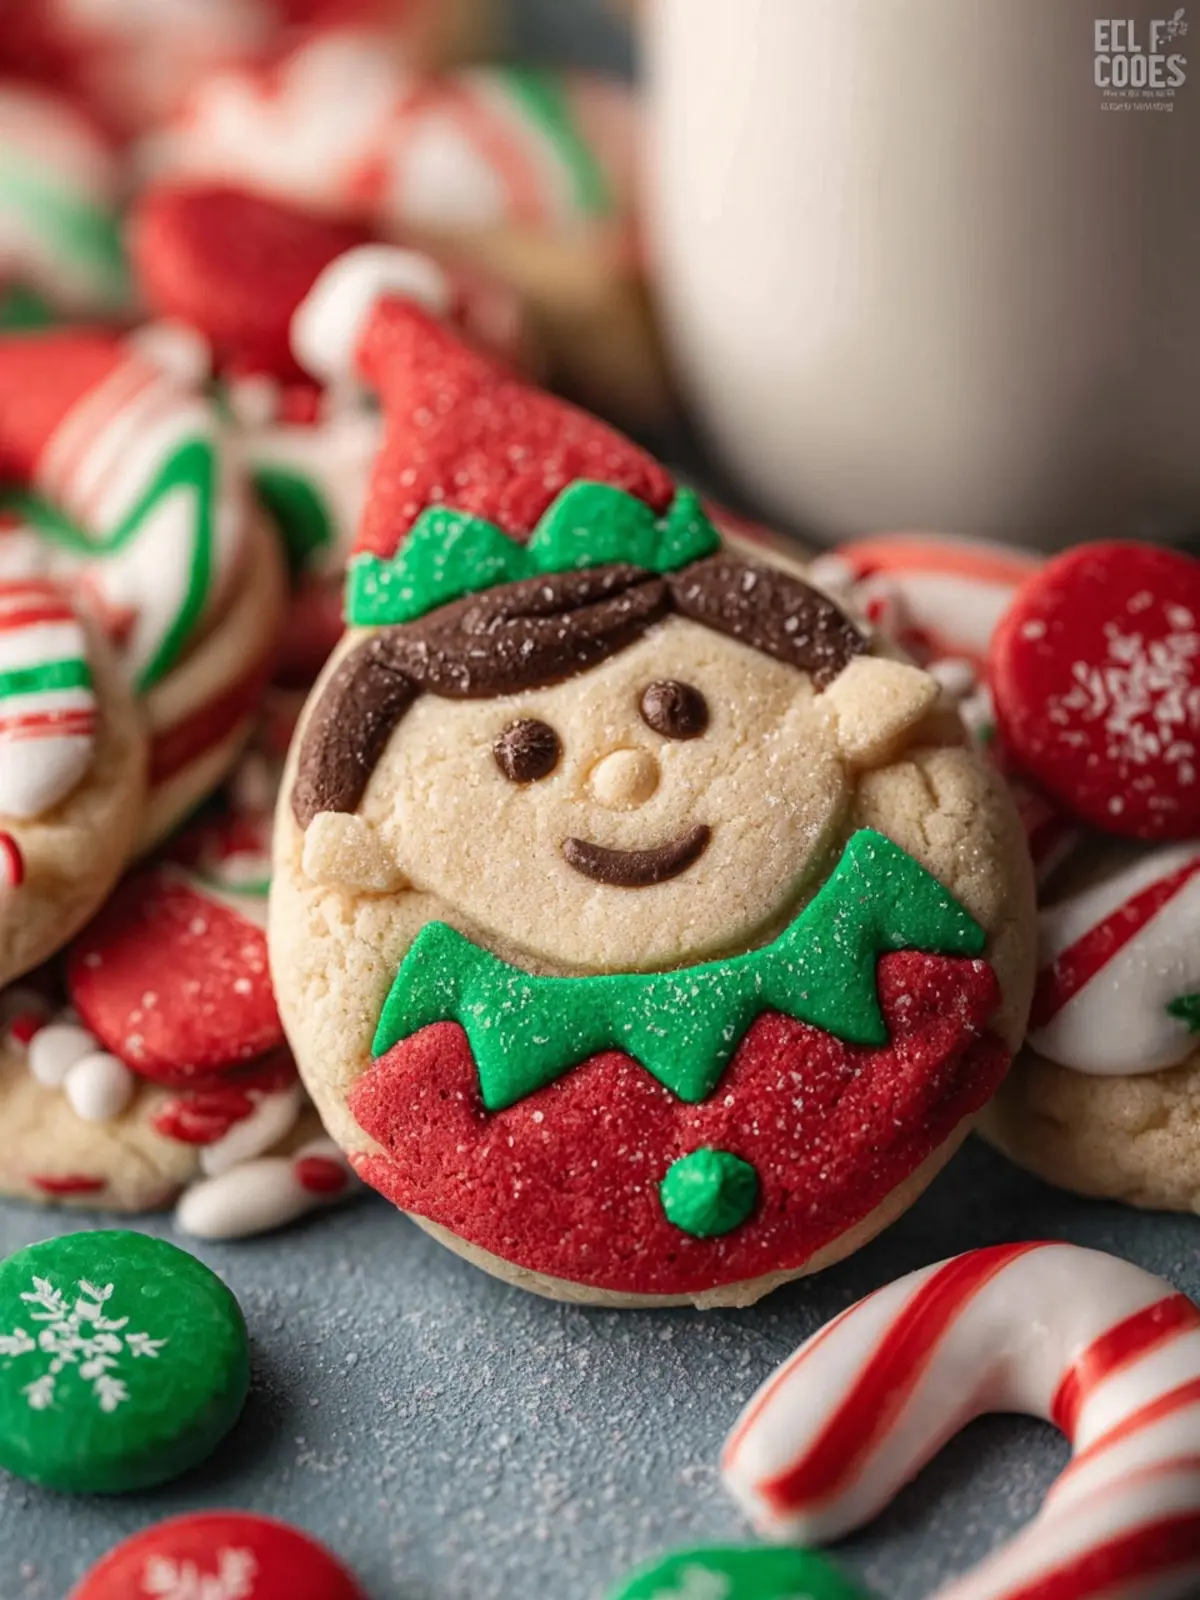
Variations to Try with Elf Cookies
Getting creative with elf cookies can turn a delightful treat into something even more magical. These cookies are perfect for customizing based on your preferences or holiday themes. Here are a few variations that breathe new life into this recipe:
Festive Flavor Mix-Ins
- Chocolate Chips: Go classic by adding semi-sweet or dark chocolate chips for a rich taste.
- Sprinkles: Add a burst of color with holiday-themed sprinkles—imagine a splash of red and green for Christmas or pastel hues for Easter!
- Nuts: Chopped pecans or walnuts can add a delightful crunch and a hint of nuttiness that balances the sweetness.
Frosted Elf Cookies
Who said these whimsical delights can’t be dressed up? A generous layer of frosting can transform your elf cookies into festive beauties:
- Basic Buttercream: Whip up a simple buttercream frosting, tint it green or red, and pipe away! This would be perfect for holiday gatherings.
- Royal Icing: For a polished look, try royal icing. It hardens beautifully, making your cookies easier to stack and store.
Flavor Infusions
Feeling adventurous? Why not infuse your elf cookies with unique flavors:
- Mint: A few drops of peppermint extract can give your cookies a refreshing twist—perfect for the winter months!
- Citrus Zest: Add a touch of lemon or orange zest for a bright, zesty vibe that cuts through the sweetness.
Experimenting with these variations not only makes your elf cookies stand out but also allows you to share a little piece of your creativity with others. Which variation will you try first?
Cooking Tips and Notes for Elf Cookies
Creating elf cookies is not just a kitchen task; it’s a delightful journey into a whimsical world of flavors and textures. To ensure your baking adventure is smooth and joyous, here are some tips and notes that will make your cookies even more enchanting.
Choose the Right Sugar
Using a combination of granulated and brown sugar adds depth to your elf cookies. Granulated sugar will make them crisp, while brown sugar lends a chewy texture and a rich caramel flavor. For an extra touch of holiday magic, try using light brown sugar for a subtle molasses undertone.
Get Creative with Sprinkles
When it comes to decorating, don’t hold back! A mixture of colorful sprinkles can turn your elf cookies into a festive masterpiece. Experiment with various shapes and sizes to create a dazzling holiday treat. Just remember, the more, the merrier!
Monitor Baking Time
Ovens can be quirky, so keep an eye on your cookies as they bake. They should be golden around the edges but slightly soft in the center when you take them out. They will continue to firm up as they cool on the baking sheet.
Use Quality Ingredients
Don’t underestimate the power of quality ingredients. Think of it as a secret potion; fresh butter, high-quality vanilla extract, and even organic eggs can elevate the flavor of your elf cookies to something truly magical.
Baking these whimsical treats should be both fun and rewarding, and a sprinkle of love is the secret ingredient that makes them truly special. Happy baking!
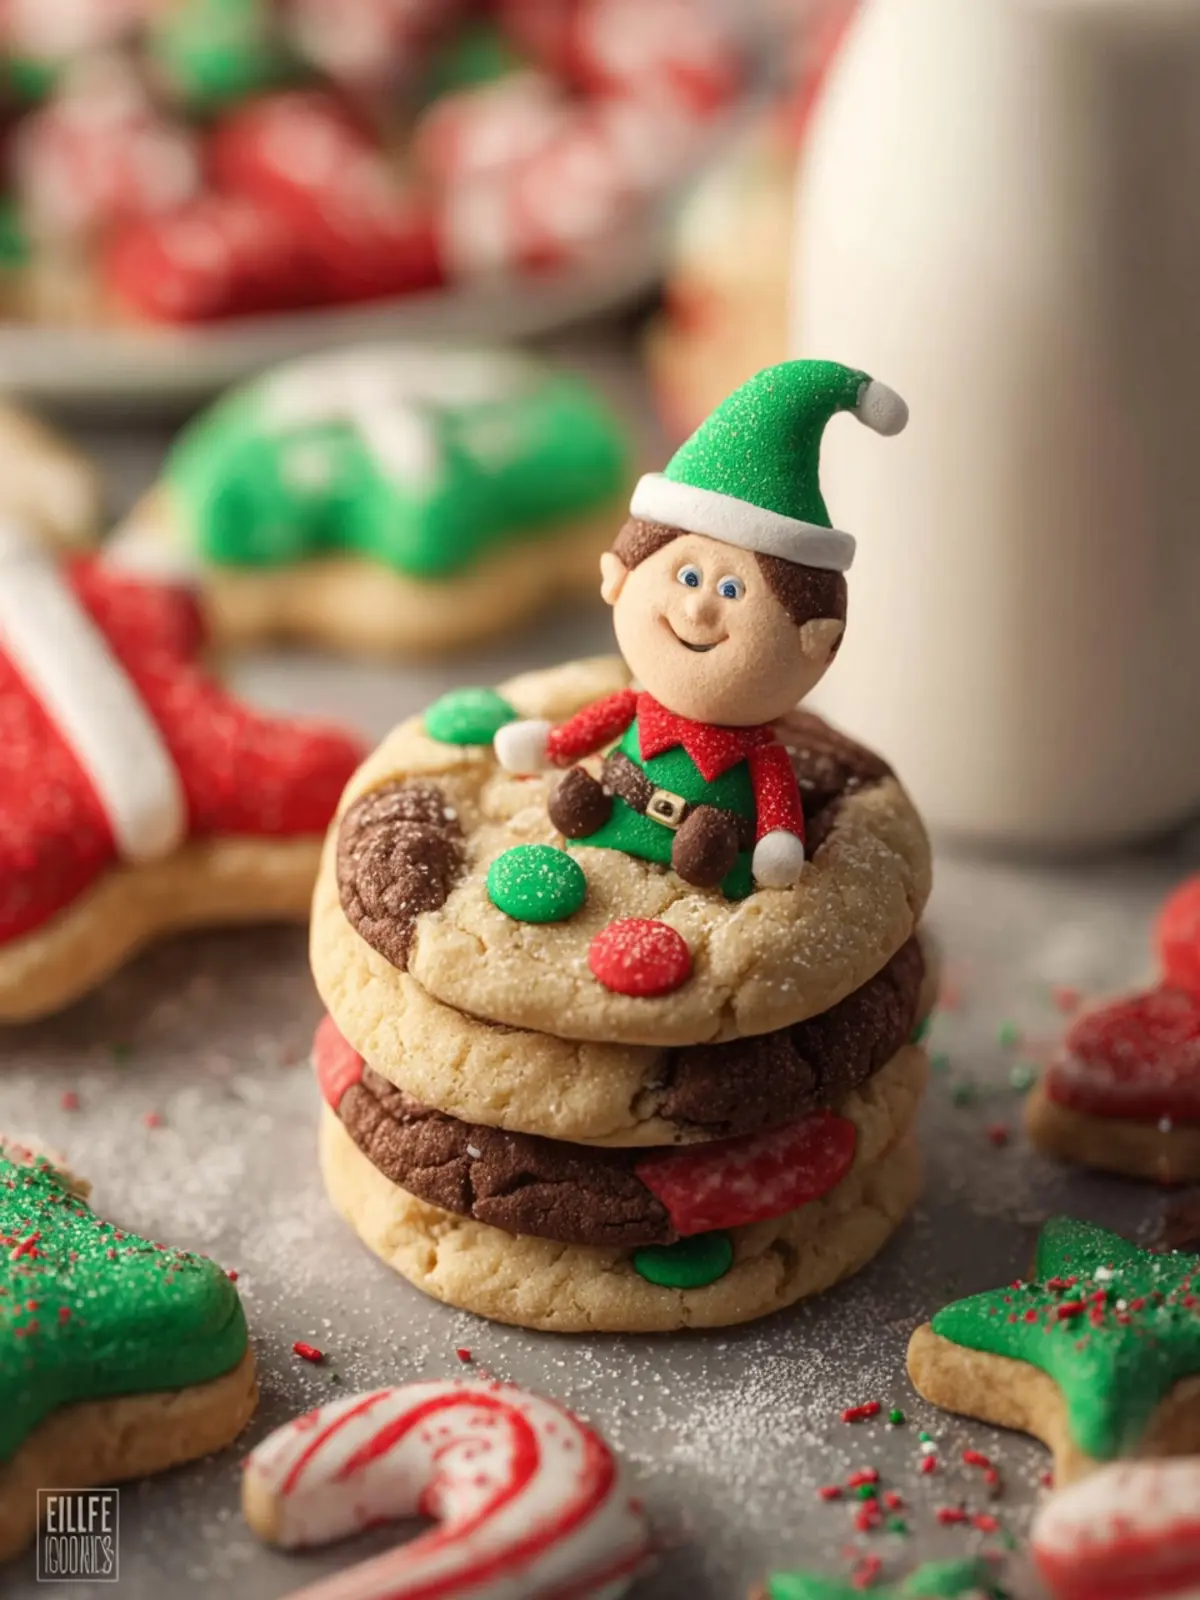
Serving Suggestions for Elf Cookies
Elf cookies bring a sprinkle of joy and a dash of whimsy to any gathering. These delightful treats are perfect for sharing during the festive season or just when you’re in need of some indulgence. Let’s explore some creative ways to serve these sweet bites that will leave your friends and family enchanted!
Ideal Pairings
- Hot Chocolate: There’s something magical about enjoying elf cookies with a warm mug of hot chocolate. Consider layering flavors by adding peppermint or whipped cream on top.
- Coffee or Tea: For an afternoon treat, pair these cookies with your favorite brew. The rich flavors of coffee or the soothing notes of tea complement the sweetness perfectly.
- Ice Cream Sundae: Crumble elf cookies over a scoop of vanilla ice cream for a whimsical sundae. Top it with chocolate syrup and a maraschino cherry for an extra festive touch.
Creative Presentation
- Gift Boxes: Package your elf cookies in festive boxes for gift-giving. Add a personalized note for a sweet touch that friends and family will appreciate.
- Decorative Platters: Arrange the cookies on a colorful platter with a few festive decorations like holly or candy canes to catch the eye of your guests.
Serving elf cookies doesn’t just satisfy a sweet tooth; it also brings people together to create lasting memories. Enjoy every bite!
Time Breakdown for Elf Cookies
Baking elf cookies is not just about satisfying your sweet tooth; it’s about creating joy and nostalgia with every bite. Let’s break down the time you’ll need to bring these whimsical treats to life!
Preparation Time
Expect to spend about 20 minutes prepping your ingredients and mixing the cookie dough. This portion of the process is where the magic begins, from gathering your colorful sprinkles to ensuring the butter is perfectly softened.
Baking Time
Once your dough is ready, baking the elf cookies will take around 12-15 minutes. It’s during this time that your kitchen will fill with delightful aromas that will have everyone eagerly waiting by the oven!
Total Time
In total, you’re looking at around 35-40 minutes from start to finish. This means you’ll have fresh, festive cookies ready in no time, perfect for sharing with friends or enjoying during a cozy evening at home.
Nutritional Facts for Elf Cookies
Indulging in Elf Cookies isn’t just about the enchanting flavors; it’s also about understanding what you’re enjoying. These delightful treats pack a surprising nutritional profile, making them a fun addition to festive gatherings or cozy nights in.
Calories
Each serving of elf cookies contains approximately 150 calories. This makes them a light treat when you’re craving something sweet without overindulging.
Protein
These cookies deliver about 2 grams of protein per serving. While they aren’t a protein powerhouse, every little bit helps when you’re balancing dessert with your daily nutritional needs.
Sodium
With around 60 milligrams of sodium per cookie, you can enjoy these festive delights without worrying too much about your sodium intake. They provide a perfect balance of sweetness and flavor that won’t leave you feeling guilty.
FAQ about Elf Cookies
Elf Cookies bring a sprinkle of magic to any festive occasion, captivating both the young and the young-at-heart. While baking these delightful treats, it’s only natural to have a few questions swirling around in that creative mind of yours! Here are some frequently asked questions to guide you in making your Elf Cookies even more enchanting.
Can I make Elf Cookies gluten-free?
Absolutely! To tailor your Elf Cookies for gluten-sensitive friends and family, all you need is a simple swap. Replace all-purpose flour with a 1:1 gluten-free flour blend. Make sure it’s a blend that includes xanthan gum, as it helps mimic the texture of traditional flour.
What can I use instead of white chocolate peppermint bark?
If white chocolate peppermint bark isn’t available or you’re looking for a different flavor profile, feel free to get creative! You can use regular white chocolate chips mixed with crushed peppermint candies for that festive crunch. Alternatively, semi-sweet or milk chocolate chips can create a delightful twist, just remember that the peppermint flavor might need to be added separately through extract or additional crushed candy.
How should I store my Elf Cookies?
To ensure your Elf Cookies stay fresh and flavorful, store them in an airtight container at room temperature. If you’re making them ahead of time, they can last up to a week—if they stick around that long! For longer storage, pop them in the freezer, where they will maintain their taste for up to three months. Just remember to let them thaw at room temperature before enjoying!
Getting the most from your Elf Cookies is all about those little tips and tricks. Happy baking!
Conclusion on Elf Cookies
In creating your delightful elf cookies, you tap into a world of whimsical flavors and heartwarming aromas that evoke the magic of the holiday season. Imagine your kitchen filled with laughter and the irresistible scent of baking as cookie dough transforms into enchanting treats. Whether you’re sharing them with friends, gifting them, or indulging solo, these cookies are sure to bring joy. Remember, each batch can be personalized with sprinkles, chocolate chips, or nuts, making them unique to every occasion. Embrace the fun of baking and let your creativity shine—because who doesn’t want to indulge in cookies that seem touched by magic?
Print
Peppermint Chocolate Cookies
- Total Time: 27 minutes
- Yield: 24 cookies 1x
Description
Delicious peppermint chocolate cookies perfect for the holidays.
Ingredients
Scale
- 1 cup butter (softened)
- 3/4 cup granulated sugar
- 3/4 cup packed brown sugar
- 1 large egg
- 1 large egg yolk
- 2 teaspoons vanilla extract
- 3 cups all-purpose flour
- 1 teaspoon baking powder
- 3/4 teaspoon salt
- 1/4 teaspoon baking soda
- 1/3 cup cocoa powder (optional, for chocolate cookies)
- 1/2 cup white chocolate peppermint bark
- 1/2 cup chocolate candy coated candies
- 1/2 cup chocolate dinner mints (or creme de menthe mints, chopped)
- 1/3 cup sprinkles
Instructions
- Preheat oven to 375°.
- Using a stand mixer or hand mixer, mix brown sugar, granulated sugar, butter, egg, egg yolk and vanilla in a large bowl until well combined.
- Add in flour, baking powder, salt, and baking soda and mix until blended. (Dough will be soft and creamy.) If making chocolate cookies, add cocoa powder (optional) and mix until smooth.
- Add peppermint bark, chocolate candies, chocolate dinner mints, and sprinkles into the dough and fold in with a spoon or spatula until well mixed.
- Drop dough by rounded tablespoonfuls onto ungreased baking sheets 3-inches apart. Top with more candies if desired.
- Bake 10 to 12 minutes until edges are lightly golden. Cool 1 minute on wire rack; remove from baking sheets and cool completely.
Notes
- These cookies are great for holiday gatherings.
- You can substitute different types of candies based on your preference.
- Prep Time: 15 minutes
- Cook Time: 12 minutes
- Category: Dessert
- Method: Baking
- Cuisine: American
Nutrition
- Serving Size: 1 cookie
- Calories: 150
- Sugar: 10g
- Sodium: 100mg
- Fat: 7g
- Saturated Fat: 4g
- Unsaturated Fat: 2g
- Trans Fat: 0g
- Carbohydrates: 20g
- Fiber: 1g
- Protein: 2g
- Cholesterol: 35mg