Follow Me On Social Media!
Cherry Pie Recipe: Irresistibly Sweet and Homemade Delight
Introduction to Cherry Pie Recipe
There’s something undeniably comforting about a slice of cherry pie, isn’t there? It’s not just a dessert; it’s a symbol of summer gatherings, family traditions, and cherished memories. Imagine walking into a kitchen filled with the enticing scent of fresh cherries baking under a golden crust—it’s a scene that beckons nostalgia for many of us who grew up savoring home-baked treats.
Cherry pie boasts a rich history, dating back to the early American settlers who baked pies to celebrate the bountiful harvest each summer. The combination of tart cherries with a sweet, flaky crust makes it a favorite across generations. Whether you’re celebrating a birthday, holiday, or just an ordinary Tuesday, this classic dessert elevates any occasion, and the best part? It’s easier to make than you might think!
So why is this particular cherry pie recipe perfect for both novice bakers and seasoned pros? It strikes the ideal balance between simplicity and flavor. Using fresh or frozen cherries, sugar, and a few pantry staples, you can whip up a joy-inducing dessert in no time.
What makes cherry pie a timeless dessert?
-
Flavor Profile: The vibrant tartness of cherries combined with the sweetness of sugar results in a flavor explosion. It’s that balance that captures the heart of every pie lover.
-
Versatility: Whether you serve it warm with a scoop of ice cream or chilled with a dollop of whipped cream, cherry pie can adapt to any season or occasion.
-
Nostalgia: For many, cherry pie evokes memories of family gatherings and summer picnics, making it more than just a dessert; it’s a bridge to cherished times gone by.
-
Tradition: Passed down through generations, the act of making cherry pie often becomes a cherished family activity, with everyone contributing to the process—from pitting cherries to rolling out the dough.
In the following sections, we’ll walk through my favorite cherry pie recipe. Trust me, it’ll soon become your go-to for any gathering or sweet craving!
Key Ingredients for Cherry Pie Recipe
When it comes to crafting a delicious cherry pie recipe, every ingredient plays a vital role in weaving together a story of flavor and nostalgia. Here’s a closer look at the key components that transform simple ingredients into a tantalizing pie.
-
Cherries: The stars of the show! I recommend using fresh, pitted cherries for the sweetest flavor, but frozen cherries work exceptionally well if fresh ones aren’t in season. Be sure to let them thaw and drain any excess liquid to avoid a soggy crust.
-
Sugar: A blend of granulated and brown sugar elevates the sweetness while adding depth. Brown sugar adds a rich caramel note, complementing the tartness of the cherries.
-
Butter: Unsalted butter is essential for the buttery, flaky crust we all love. It’s also brushed over the top crust before baking to create a golden finish.
-
Flour: All-purpose flour is the go-to for the crust, providing structure and tenderness. If you have dietary restrictions, a gluten-free flour blend should suffice.
-
Lemon Juice: A splash of lemon juice brightens up the filling, balancing the sweetness of the cherries and enhancing their flavor.
-
Cornstarch: This acts as a thickener, helping to bind the cherry juices and avoid a soupy mess. It’s crucial for achieving that perfect pie filling consistency.
These ingredients come together harmoniously, creating a cherry pie that’s not just a dessert, but a cherished memory waiting to be shared.
Why You’ll Love This Cherry Pie Recipe
This cherry pie recipe isn’t just about baking; it’s about crafting a timeless dessert that connects us with joyful memories, whether it’s a summer cookout or a cozy family gathering. Picture this: you open your oven, and a heavenly aroma fills the kitchen. It’s the kind of scent that tugs at your heartstrings, reminding you of sun-drenched orchards and laughter-filled kitchens.
Here’s why you’ll fall head over heels for making this pie:
-
Simple Ingredients, Big Flavor: The beauty of this cherry pie lies in its straightforward ingredients. Fresh cherries, a touch of sugar, and a buttery crust—all combined to create an inviting dessert that speaks of summer.
-
Perfect for Any Occasion: Whether you’re celebrating a birthday, hosting a brunch, or need a sweet treat for a casual weeknight, this pie fits right in. You’ll impress your guests with minimal effort and maximum taste.
-
A Slice of Nostalgia: Remember childhood afternoons spent picking cherries? This recipe brings those memories right back to life, making it not just a dessert but a meaningful experience.
-
Easy to Customize: Feeling adventurous? Mix in some almond extract or top it with a scoop of vanilla ice cream. This recipe invites you to get creative.
Whipping up this cherry pie will not just satisfy your sweet tooth; it will create a moment to savor, making it a dessert you’ll return to time and time again.
Tips for Making the Perfect Cherry Pie
Creating a delicious cherry pie recipe can feel like an art form, especially when you’re passionate about pie crusts, fillings, and just the right balance of sweetness. Here are some tips to elevate your cherry pie game:
Choose the Best Cherries
Fresh, ripe cherries are key. I prefer using Bing cherries for their sweetness and vibrant color. If they’re out of season, frozen cherries can work just as well—just make sure to thaw and drain excess liquid to avoid a soggy crust.
Perfect Your Pie Crust
A flaky, buttery crust makes all the difference. When making your pie crust, use cold butter and handle the dough as little as possible. For added tenderness, try incorporating a little vinegar into the dough. And don’t forget to let it rest in the fridge for at least 30 minutes before rolling it out!
Balance the Sweetness
Cherry filling should be perfectly balanced. A mix of granulated sugar and a bit of lemon juice will enhance the cherries’ natural tartness. If you like a more robust flavor, add a dash of almond extract for a delightful twist.
Use a Baking Shield
If you’re worried about your pie crust over-browning, creating a baking shield from aluminum foil can help protect the edges of your pie without affecting the overall baking.
Cool Before Serving
Let your cherry pie cool for at least an hour before slicing. This cooling time allows the filling to set, ensuring each slice holds its shape beautifully.
With these tips, your cherry pie recipe is bound to impress family and friends alike!
Time Details for Cherry Pie Recipe
When preparing a cherry pie recipe, timing is everything. It can mean the difference between a perfectly baked crust and a gooey filling or worse, a pie that refuses to set. Here’s how you can time your cherry pie journey seamlessly!
Preparation time
Setting aside about 20-30 minutes is ideal for gathering your ingredients, making the crust, and preparing the cherry filling.
Cooking time
Once your pie is assembled, pop it into the oven for approximately 45-50 minutes. You’ll want to keep an eye on that golden crust!
Total time
In total, you’re looking at around 1 hour and 15 minutes to enjoy a warm, delicious cherry pie from scratch, making it a wonderful choice for weekend baking when you have a tad more time to savor the process!
Nutritional Information for Cherry Pie Recipe
Knowing the nutritional information for cherry pie recipe helps you indulge wisely without sacrificing taste. Here’s a quick breakdown of what you can expect from a slice of your homemade cherry pie:
Calories
Each slice contains approximately 300 calories, making it a delightful treat that’s still manageable within most dietary plans.
Sugar
This cherry pie recipe packs around 20 grams of sugar per slice. While it’s sweet, fresh cherries contribute natural sugars along with their vitamins and antioxidants.
Fat
With about 10 grams of fat per serving, much of this comes from the buttery crust. This touch of richness adds to the overall indulgence, but you could consider a lighter crust for a healthier twist.
Enjoy your cherry pie while keeping these figures in mind, and you’ll appreciate each slice even more!
FAQs about Cherry Pie Recipe
Creating a delightful cherry pie recipe can bring memories of summertime picnics and family gatherings. But as you embark on this sweet journey, you might have some questions along the way. Let’s dive into the most common queries to ensure your cherry pie turns out flawlessly!
How can I make my cherry pie filling thicker?
If you’re seeking a luscious, thicker filling for your cherry pie, consider these tips:
-
Cornstarch or Flour: A tablespoon or two of cornstarch or all-purpose flour can help absorb excess liquid. Mix it with the sugar before adding it to the cherries to ensure even distribution.
-
Cook the Filling: Gently cooking your cherries with sugar on the stovetop before filling the crust can help to evaporate some moisture, resulting in a denser filling.
Can I make this cherry pie ahead of time?
Absolutely! You can prepare your cherry pie ahead of time:
-
Chilling: Once baked, let the pie cool completely, then cover it tightly and refrigerate for up to two days.
-
Freezing: You can also freeze a baked cherry pie. Just make sure it’s well-wrapped to prevent freezer burn. It can be stored for up to three months. To serve, let it thaw in the refrigerator overnight before reheating.
What are some delicious variations of cherry pie?
The classic cherry pie is always a hit, but why not mix things up? Here are a few tasty variations:
-
Mixed Berry Cherry Pie: Combine cherries with blueberries or raspberries for a burst of flavor.
-
Chocolate Cherry Pie: Add cocoa powder or chocolate chips to the filling for a decadent twist.
-
Almond Extract: Substituting vanilla extract with almond extract can enhance the cherry flavor and give it an earthy depth.
With these handy answers, you’re well-equipped to master your cherry pie recipe and impress your friends and family!
Conclusion on Cherry Pie Recipe
In summary, this cherry pie recipe is a delightful way to bring a classic dessert to your table, capturing that sweet and tart essence we all love. The homemade crust combined with the rich cherry filling creates a warm, inviting aroma that fills your kitchen and hearts. Plus, it’s incredibly versatile—serve it warm with a scoop of vanilla ice cream or enjoy it chilled with a dollop of whipped cream. No matter how you serve it, this pie is sure to impress friends and family alike. So gather your ingredients, channel your inner baker, and create a slice of happiness today!
Print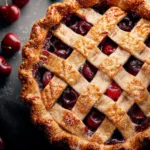
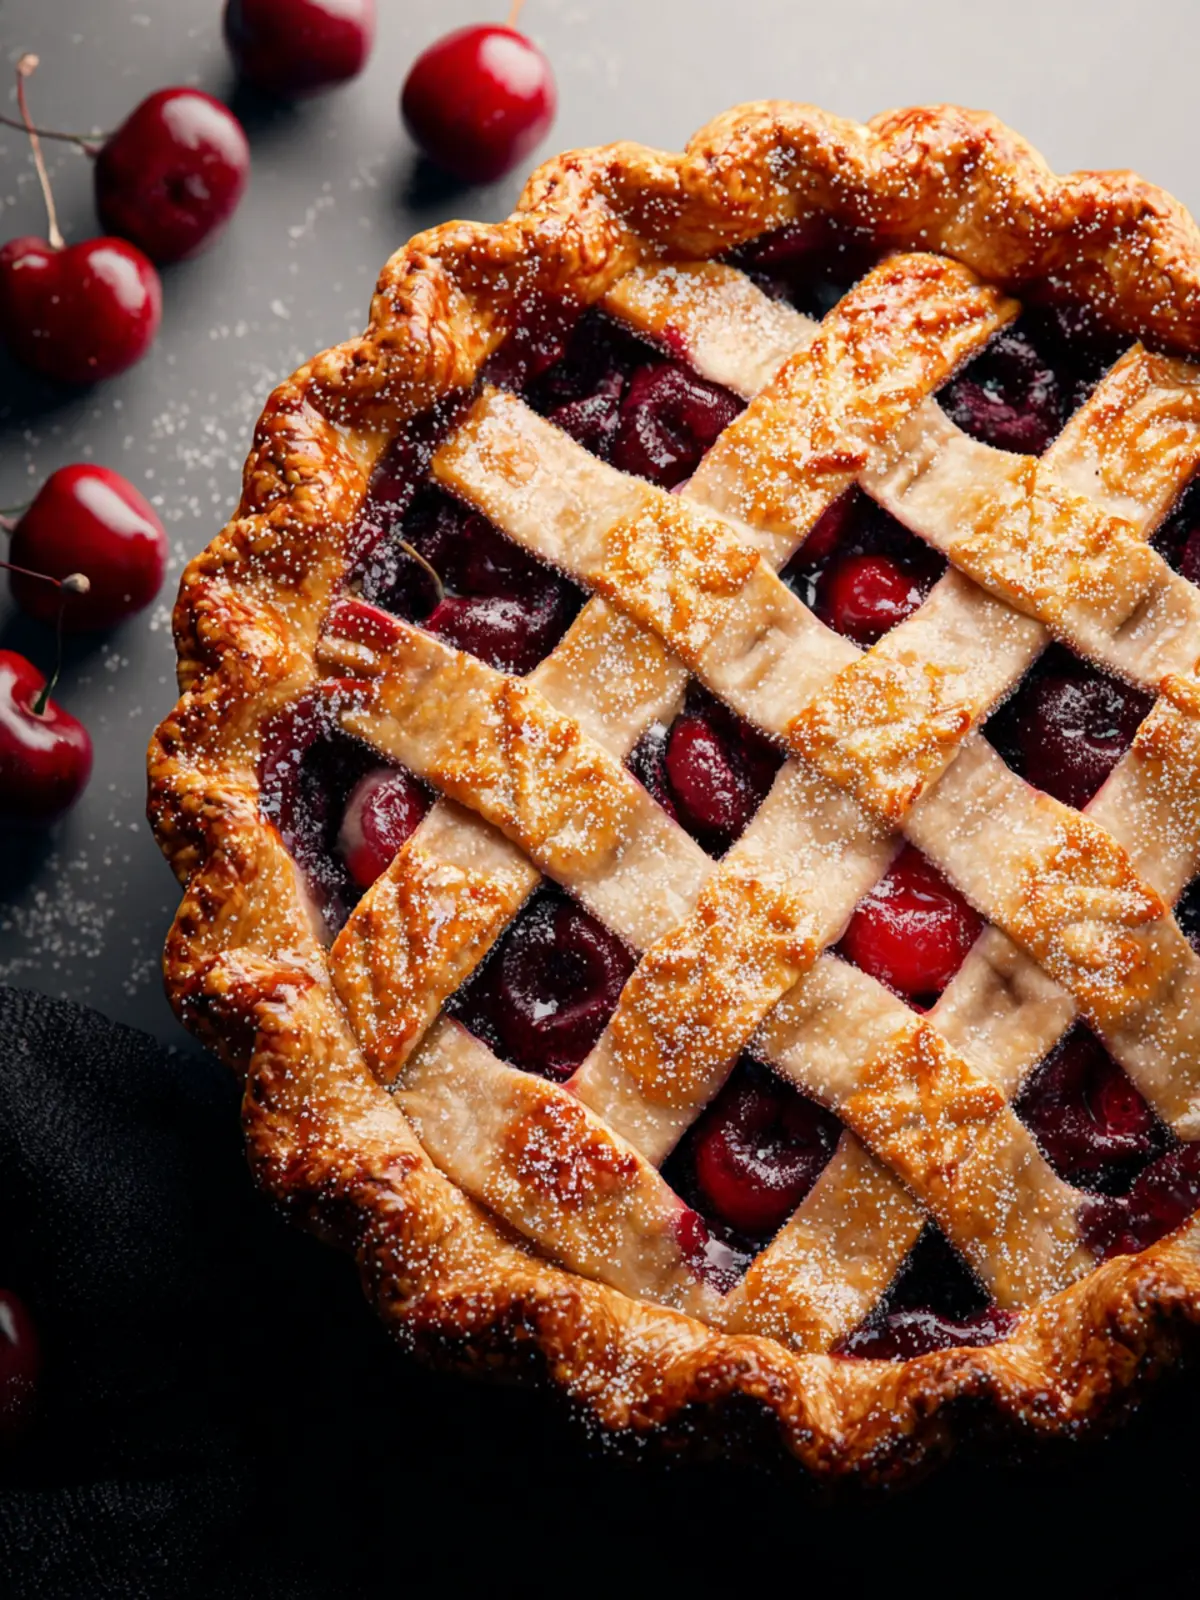
Cherry Pie
- Total Time: 1 hour 30 minutes
- Yield: 8 servings 1x
- Diet: Vegetarian
Description
This delicious cherry pie combines fresh cherries with a buttery crust, making it a perfect dessert.
Ingredients
Scale
- 5 cups fresh cherries (pitted)
- 2/3 cup granulated sugar
- 1 large lemon (1–1/2 tablespoons juice)
- 1/8 teaspoon salt
- 1/4 cup cornstarch
- 2 tablespoons unsalted butter
- 1 teaspoon vanilla extract
- 1/8 teaspoon almond extract (optional)
- 2 homemade pie crusts
- 1 large egg (plus 1 tablespoon milk)
- 2 tablespoons coarse sparkling sugar
Instructions
- If possible, make the pie crusts the day before. Cold dough = better pie! Follow pie crust recipe and chill thoroughly.
- Wash and fully dry the cherries. Remove stems and pits. Cut half of the cherries in half, and the rest into quarters. Add cherries to a medium pot with sugar and lemon juice. Cook, stirring occasionally, over medium heat for 3–5 minutes until juices are released. Use a slotted spoon to transfer cherries to a large bowl, leaving the juices in the pot on the stovetop.
- In a separate small bowl, add the cornstarch. Remove 2 tablespoons of the hot cherry juice and whisk it into the cornstarch until smooth. Gradually pour the cornstarch mixture back into the pot with the remaining juice, whisking constantly to prevent lumps. Cook, whisking constantly, over medium heat, until thick and smooth, about 3-5 minutes. Pour over the cherries and gently toss to coat. Stir in butter until melted. Add vanilla and almond extract, if using. Refrigerate the filling while you roll out the pie crust. Filling should be cold before adding to the base crust.
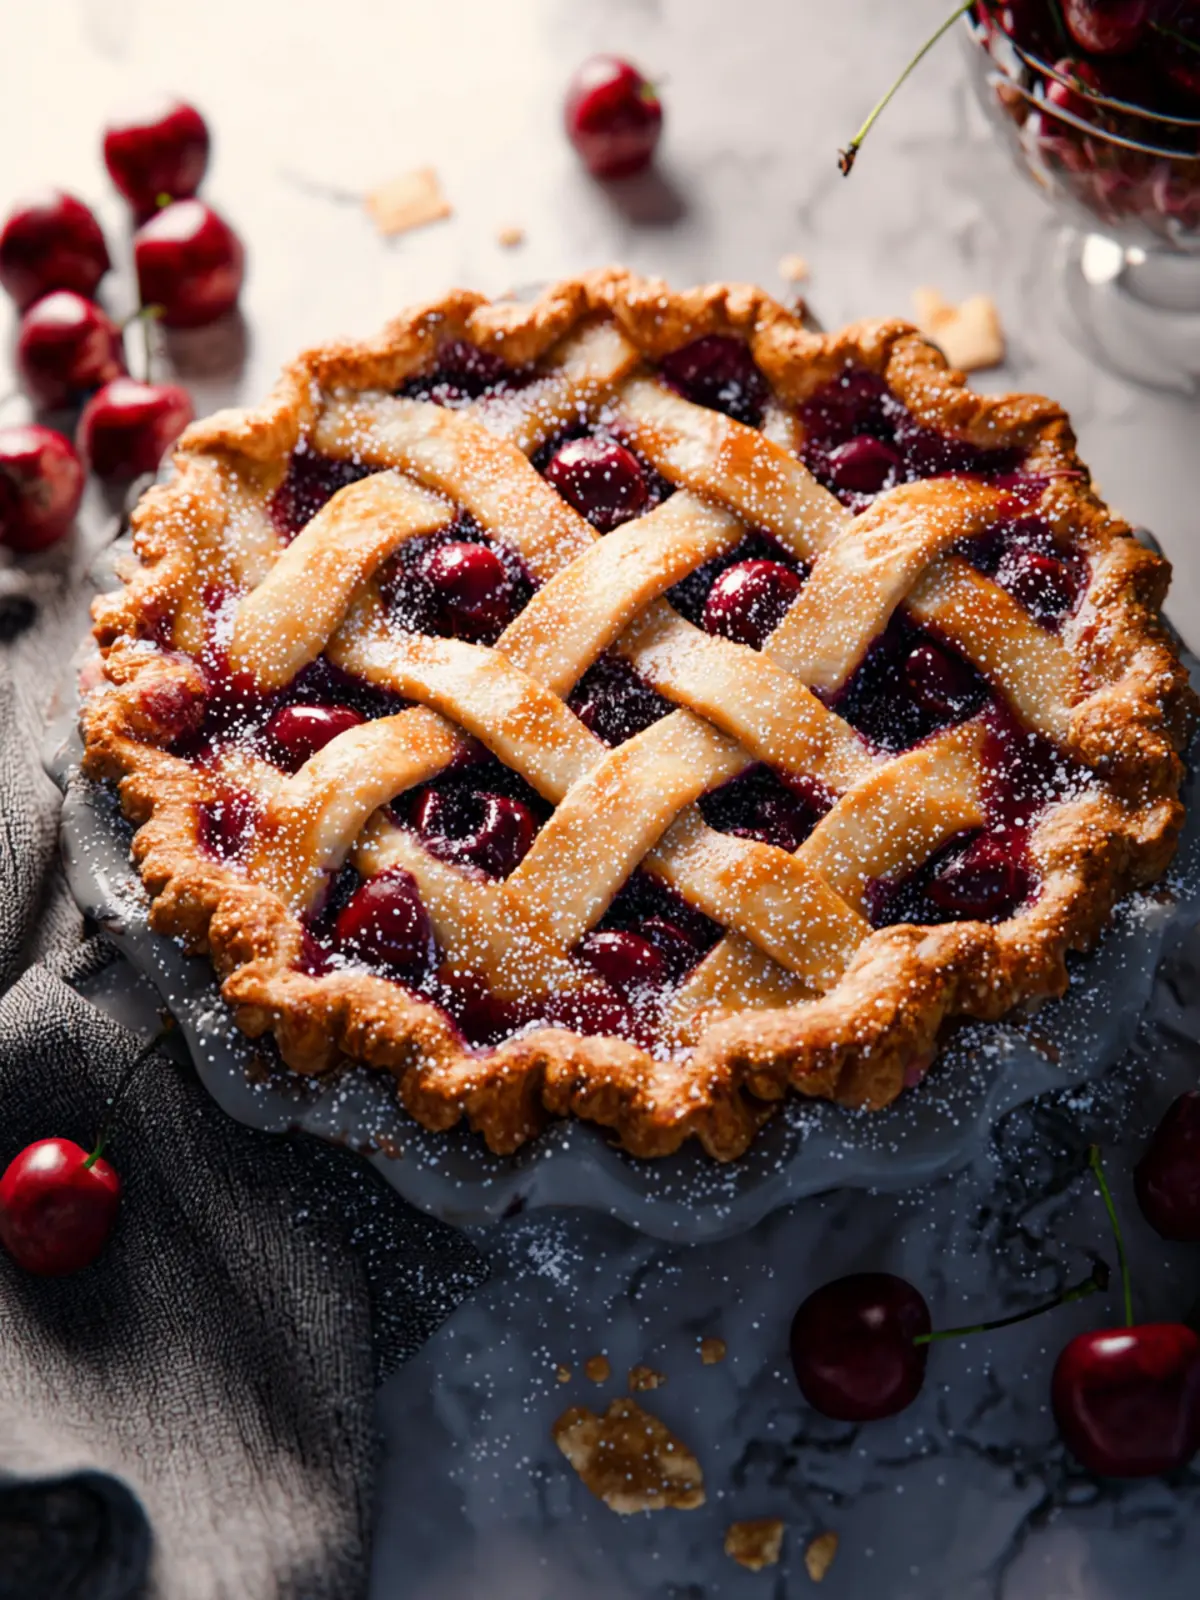
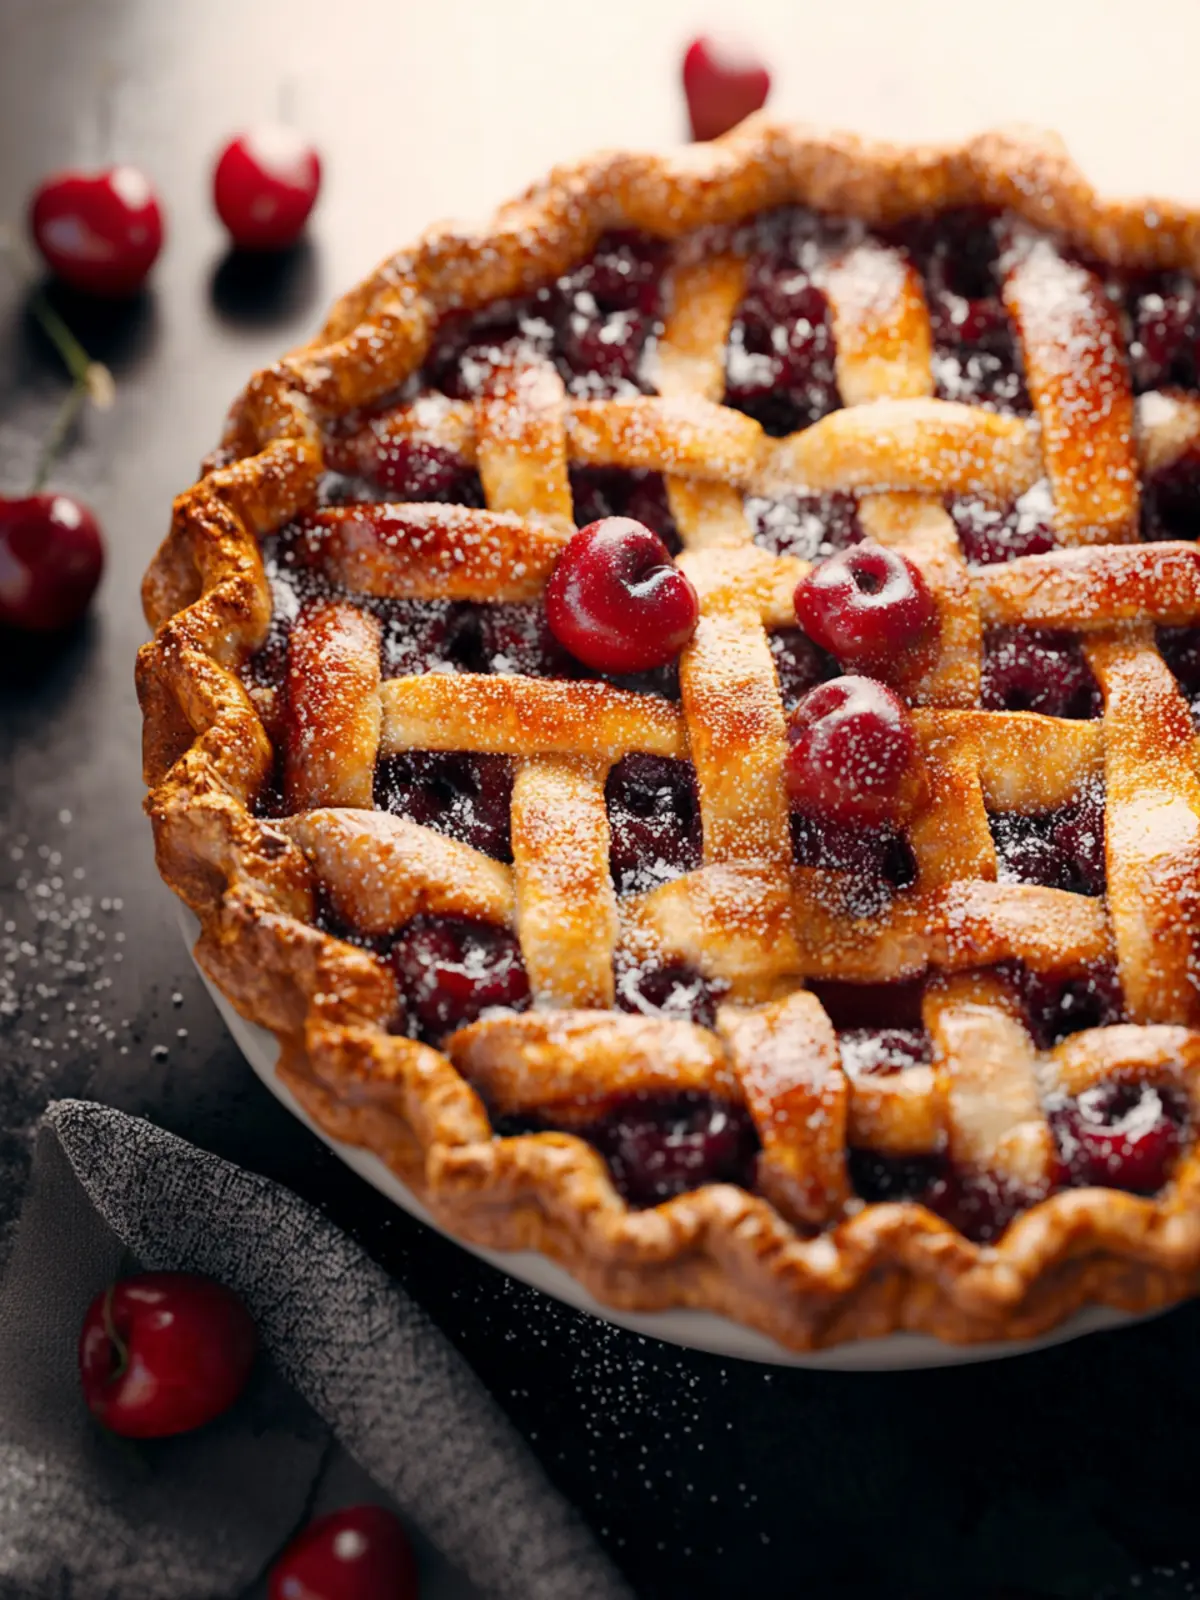
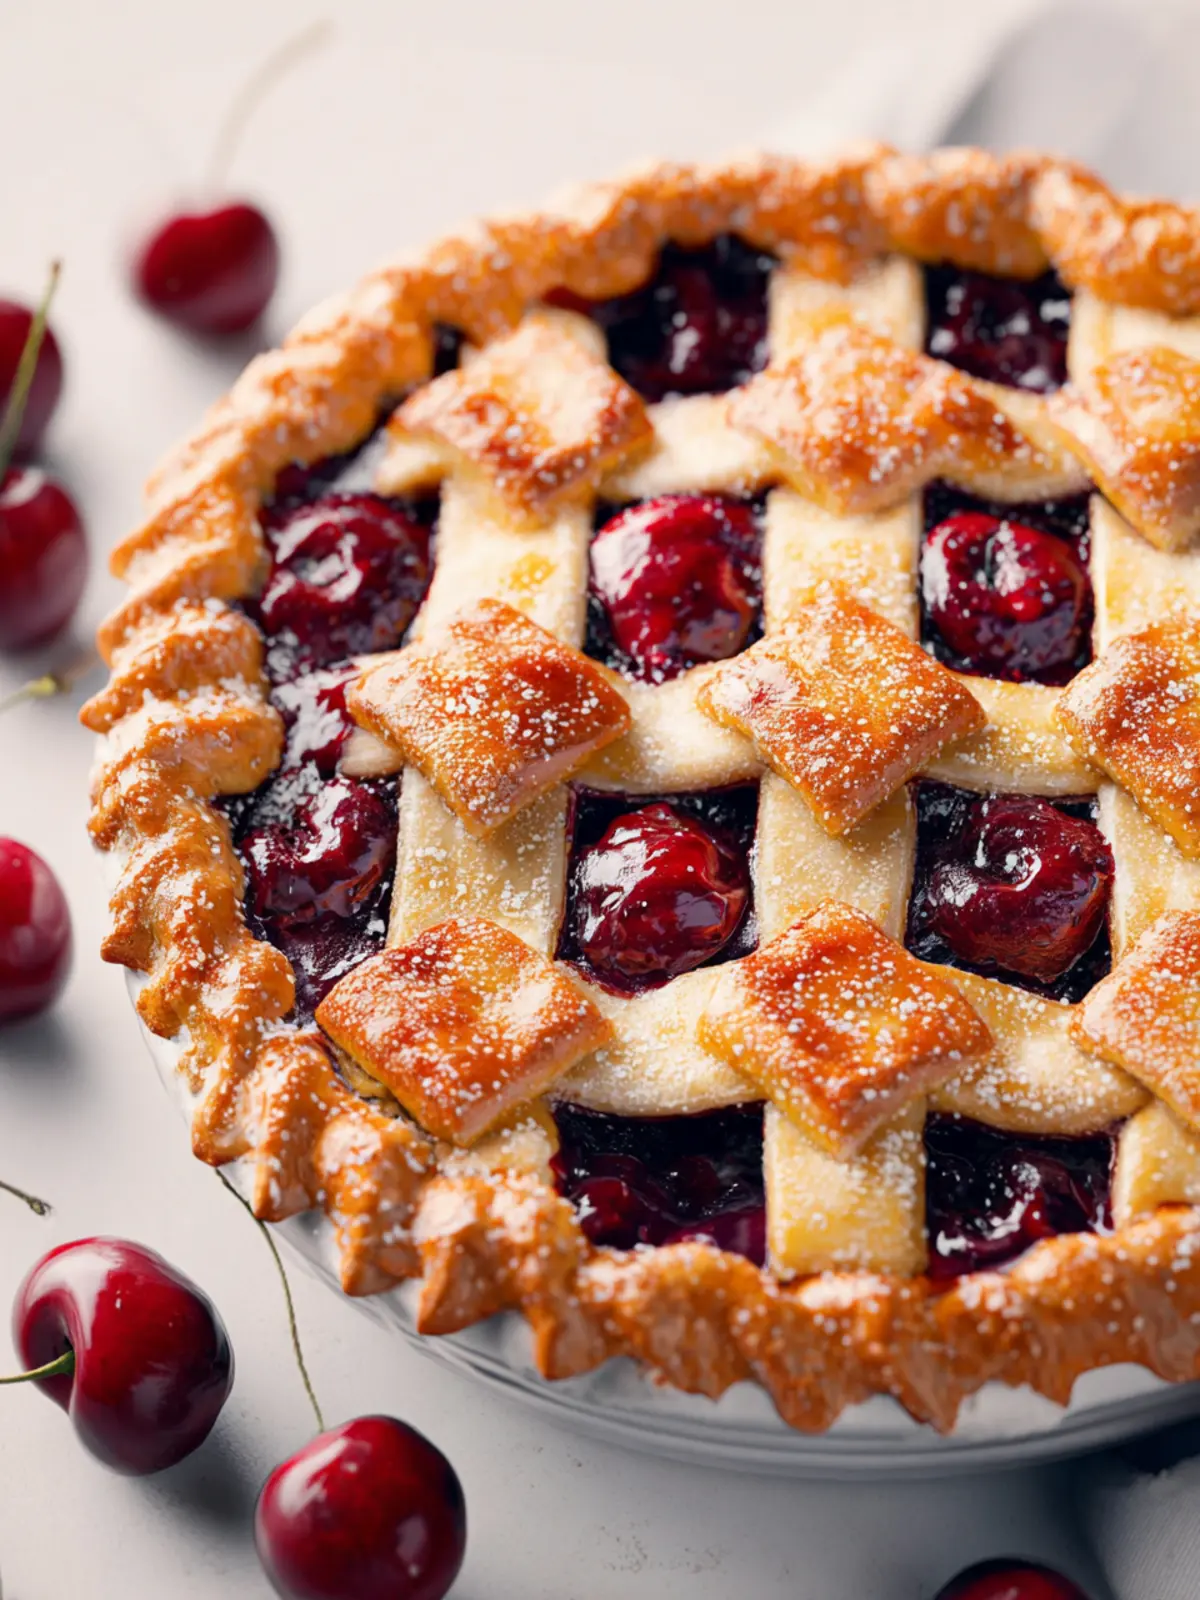
- Lightly grease a 9-inch pie pan with cooking spray. Roll out one chilled pie crust to a 12″ circle. Fit into the pan and spoon in the cooled cherry filling. Preheat oven to 400°F. Roll out the second crust and cut into 1/2-inch strips. Arrange over the filling in a lattice pattern. Seal and crimp the edges as desired.
- Whisk egg and milk in a small bowl. Brush over the top crust, then sprinkle with coarse sugar. Bake at 400°F for 20 minutes. Lower oven to 375°F and bake an additional 30-40 minutes, or until the top is golden and juices bubble through the crust for at least 5 minutes. Check the pie after 30 minutes and cover the edges with a pie crust shield if browning too quickly.
- Let the pie cool on a wire rack for at least 3-4 hours before slicing. The filling sets as it cools. Cutting too early will result in a runny pie. Once fully cooled, slice and serve, or cover and refrigerate to serve the next day.
Notes
- Note 1: Pitting cherries can be messy; use gloves if desired.
- Note 2: Seal and crimp the edges of the pie crust for best results.
- Prep Time: 30 minutes
- Cook Time: 1 hour
- Category: Dessert
- Method: Baking
- Cuisine: American
Nutrition
- Serving Size: 1 slice
- Calories: 250
- Sugar: 15g
- Sodium: 50mg
- Fat: 10g
- Saturated Fat: 5g
- Unsaturated Fat: 5g
- Trans Fat: 0g
- Carbohydrates: 35g
- Fiber: 1g
- Protein: 2g
- Cholesterol: 40mg